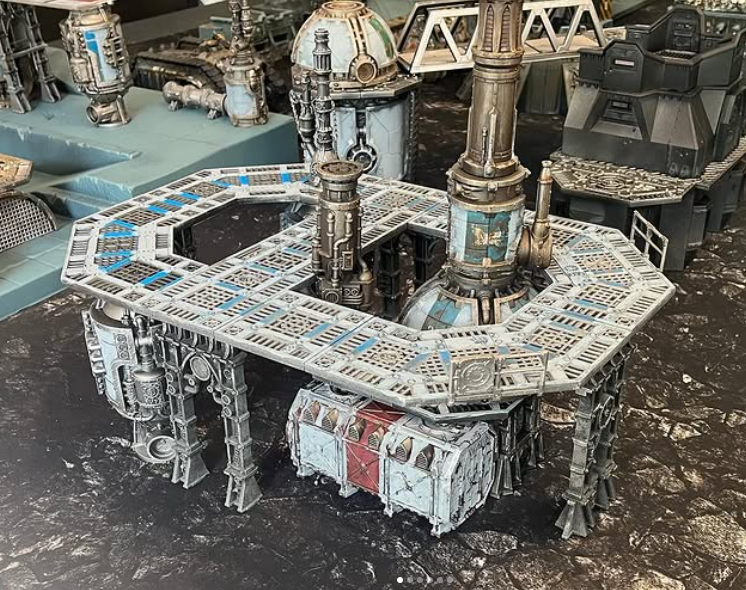
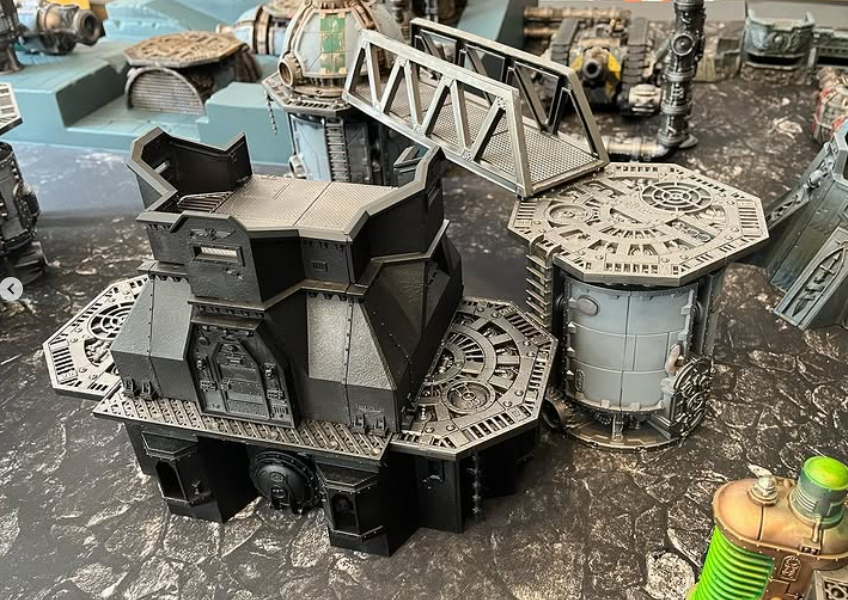
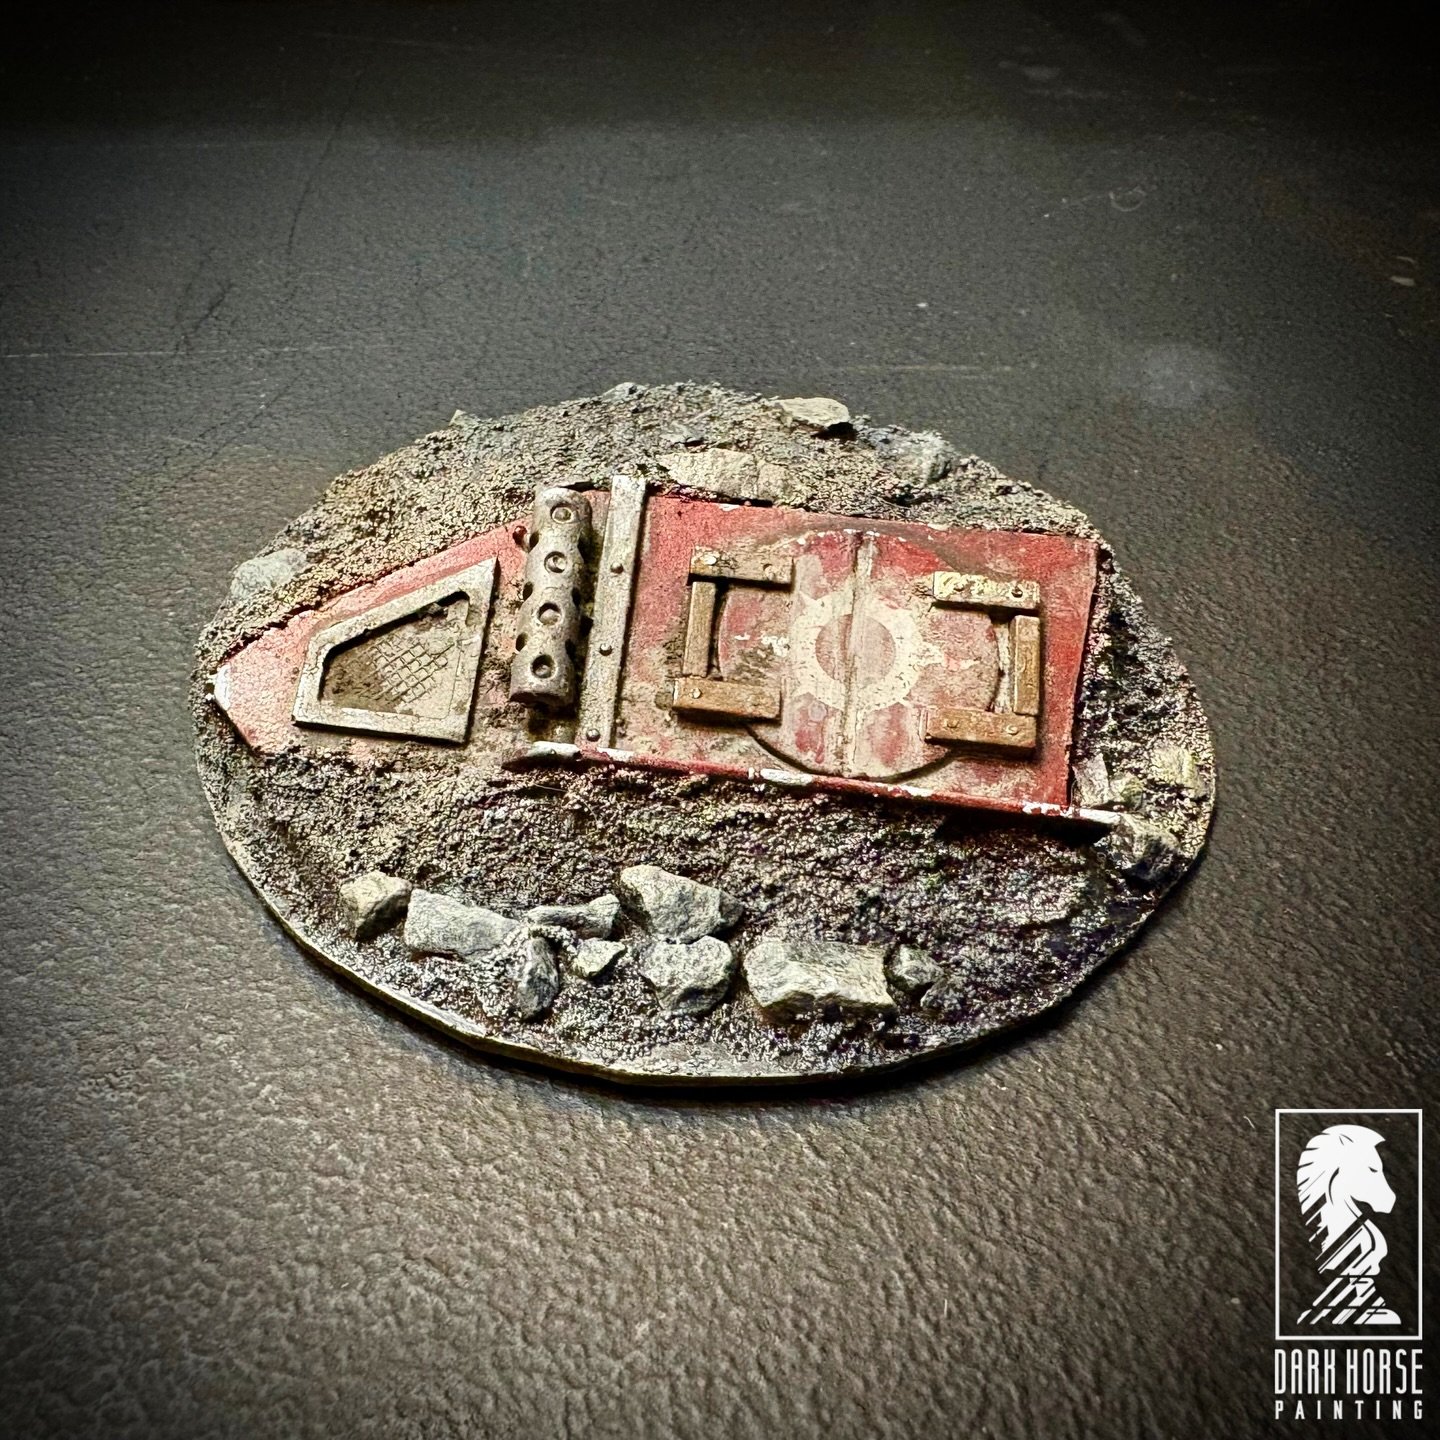
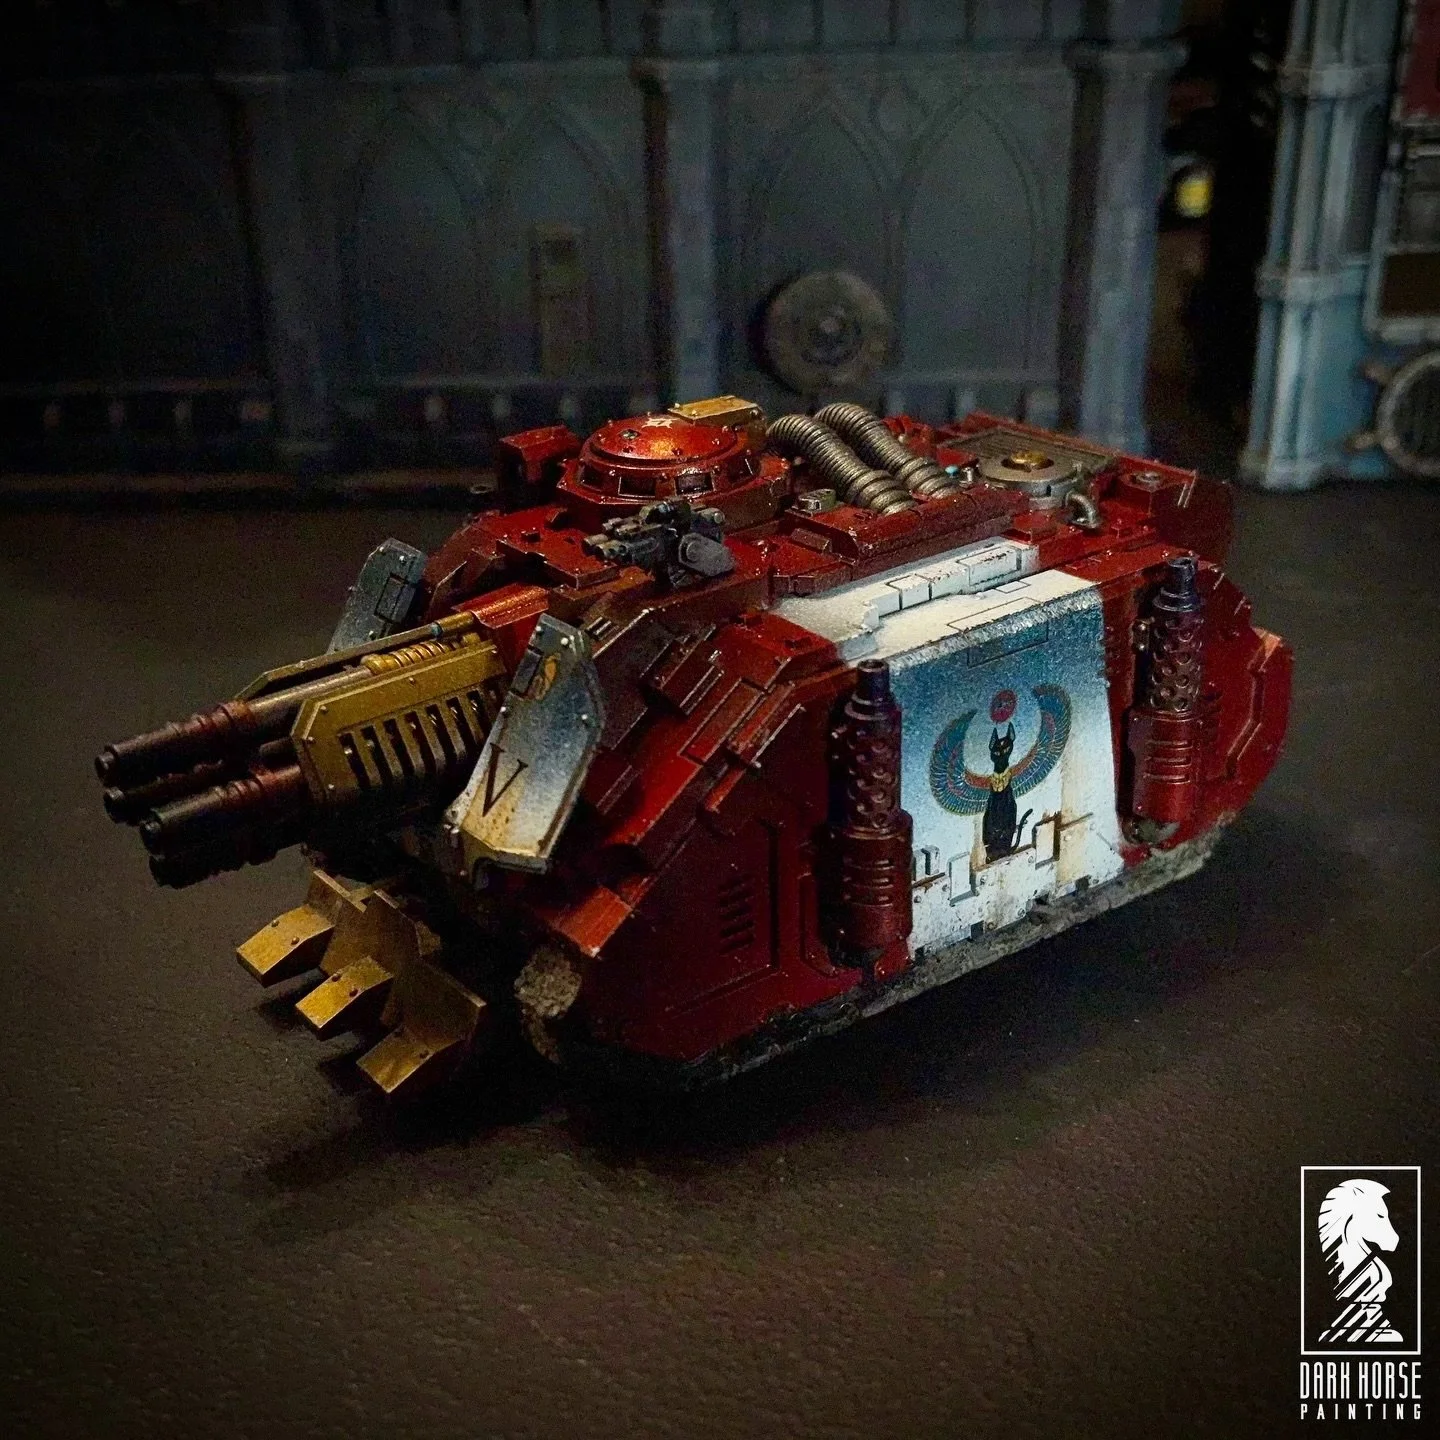
Isstvan III Battlefield Terrain
One of the main issues people have with 3rd Edition is Battlefield Terrain. As much fidelity as the game has in certain areas, terrain has been simplified into certain categories that are a bit confounding. In Black Book 1, this section was meant to provide randomized terrain options to make games more interesting. The problem with having random terrain options is that you hypothetically need to have models to represent all options. In case someone does have all the options, I will leave the random roll tables in.
It is recommended to select certain pieces of terrain to include in the battlefield, that both sides can agree upon. These terrain pieces will provide some variation to the vanilla rules provided in the AoD BRB. However, the random tables are included for those that love to roll dice! The terrain rules here are meant as an addendum to the current rules. Use the AoD BRB terrain rules for each terrain piece, unless otherwise specified in the description.
One of the easiest ways to model as many of these as possible is neoprene 2d terrain pieces. I am not here to promote one company or another, but there are affordable options out there.
Forests
The forests of Isstvan III were few and they were all destroyed in the firestorm that swept the planet's surface. Those forests that do remain are scorched and bare. Some are not forests at all, but tangles of girders or pillars of ash that loom out of the toxic fog.
Unless otherwise stated, forests are Light Area Terrain (6+ Cover) that are also Difficult Terrain.
D6 Result
1-2 Burned Forest
3 Cinder Tangle
4 Iron Thicket
5 Ashen Wood
6 Corpse Grove
Burned Forest: The forest is nothing more than blackened trunks pointing towards the dead sky like the accusing fingers of the dead.
This forest does not provide a cover save.
Cinder Tangle: A haze of smoke hangs over the scorched remains of a once dense tangle of trees and undergrowth. Fires still smoulder underground and in the trunks of the charcoal trees.
At the start of every game turn, roll a D6. On a roll of 4+ the fire sleeping in the hot embers flares up again. From this point onwards the cinder tangle blocks line of sight completely and is considered Dangerous Terrain. Additionally, any model that moves through this forest (including beginning/ending movement), must take a S5 AP6 D1 wound. This is considered to have Panic (1).
Iron Thicket: The forest is in fact the exposed girders and collapsed metal frames of broken buildings, jutting like the scorched skeletal remains of primordial beasts from the dust and rubble.
The iron thicket grants a 5+ cover save rather than the usual 6+ and is considered Dangerous Terrain for Vehicles.
Note: The iron thickets improved cover save does not make it Medium Area Terrain.
Ashen Wood: The forest is nothing more than the shapes of trees formed from ash. As the forest is disturbed it collapses into dust and blows away on the wind.
Remove the forest from the table.
Corpse Grove: The forest is not one of trees but of the fused and petrified remains of human bodies. The cover these wretches sought burned around them, but they remain in death, their dead hands still clutching the smoke-filled air and their screams frozen on their skulls.
All units within, or partially within, the corpse grove suffer a - I Leadership and Cool penalty.
Rivers, Lakes, and Pools
The firestorm boiled away much of the standing water on lsstvan III. The rivers that cross the planet's ashen surface are now little more than toxic sludge, soot saturated fluid or the liquefied remains of organic matter left by the action of the life-eater virus.
Unless otherwise stated, rivers, lakes, and pools are Difficult Terrain.
D6 Result
1 Black Liquid
2 Clogged Water Course
3 Toxic Fog
4 River of Fire
5 Rad Sludge
6 Grave Slime
Black Liquid: The surface of the water is a pitch-black mirror. It is impossible to tell how deep the water is beneath the surface or just what danger may be below its surface.
The river is considered Dangerous Terrain.
Clogged Water Course: The waters in the rivers of Isstvan III have boiled away in the planetary bombardment, leaving only an impression of where they once flowed, while canal works are clogged with ash and corpses.
The water course counts as Open Terrain for Vehicles, but it remains Difficult Terrain for other units, and provides a 6+ cover save.
Toxic Fog: The water is not actually water but a cloud of thick toxic fog caught in a fold in the ground.
Models within the channel of fog have their Armour save worsened by -1 (3+ becoming 4+ and so on). Once they move out of the fog their Armour save returns to its previous value. Toxic fog blocks line of sight as if it were Medium Terrain (3”).
River of Fire: The river burns. Perhaps it is a run-off from a ruptured fuel supply or flammable pollutants ignited by the firestorm.
The river of fire is considered Dangerous Terrain, and any infantry model caught within it fails its Dangerous Terrain test on a 1 or 2. Any Vehicle that fails its Dangerous Terrain test takes 2 Hull Points of damage.
Rad Sludge: The river is a thick sludge formed from radioactive fallout leached out of the ruins and ashes of Isstvan Ill's hives and cities.
Models within rad sludge reduce their Toughness or any Armour Value by -1.
Grave Slime: The river is an oozing ribbon of slime formed from the liquefied remains of the dead of Isstvan III.
Models moving within the grave slime suffer from Fear (1).
Mysterious Structures
The surface of Isstvan III is a tangle of ruins and the shattered remains of structures reduced to molten slag. Amongst this devastation a few structures remain mysteriously intact: whole buildings untouched by the flames, statues gazing out across the plains of ash, machines standing whole amongst the broken shells of the building that housed them. Perhaps some hidden agency preserved them amongst the fire, or perhaps they are the flotsam of fate left in the storm's wake.
Any game played as part of the Isstvan III campaign may include mysterious structures. You may simply decide that a particularly imposing piece of terrain is a mysterious structure while setting up the battlefield. Alternatively, you may leave it to chance, in which case when setting up your battlefield roll a D6 and compare the result to the following table to see how many mysterious structures there will be. Then nominate the indicated number of pieces of battlefield terrain as mysterious structures.
D6 Result
1-2 No mysterious structure
3-4 One mysterious structure
5 Two mysterious structures
6 Three mysterious structures
12 Life-eater Bomb
If a mysterious structure is Area Terrain or a Building, then it is considered explored as soon as a unit enters the terrain. If the mysterious structure is Impassable Terrain, then it is explored as soon as a unit ends its move within 2" of the terrain feature. Once a mysterious structure is explored roll on the Mysterious Structure table to determine its nature.
2D6 Result
2 Catacombs Entrance
3 Shield Dome Generator
4 Ordnance Cache
5 Planetary Comms Array
6 Enduring Imperial Edifice
7 Failed Refuge
8 Charnel House
9 Cacophonic Shrine
10 Oracular Temple
11 Death’s Tomb
12 Life-eater Bomb
Catacombs Entrance: Under the structure is a sealed entrance to a bunker system where a handful of loyalist forces sheltered from the virus bombing and consequent fire storm.
The Loyalist player may immediately redeploy an Infantry unit, Cavalry unit, or Walker that has already been destroyed within the mysterious structure or within 6" of its edge. This is done using the rules for Deep Strike (however, out of turn sequence). If no unit of the correct type is available, then the Loyalist player must deploy the first applicable unit destroyed later in the game. This deployment occurs alongside the deployment of other reinforcements in the turn after the unit is destroyed.
Shield Dome Generator: The structure contains a shield dome generator that protected it from the worst of the orbital bombardment.
All models within the structure (or within 2 " of the structure if it is Impassable Terrain) gain a 5+ invulnerable save against shooting attacks, increasing to 4+ against blast and template weapons.
Ordnance Cache: The structure contains a vast cache of ammunition and weaponry kept safe behind reinforced blast doors.
All models within the structure (or within 2 " of the structure if it is Impassable Terrain) gain the Breaching (6+) special rule for all their shooting attacks. However, thanks to the danger of munitions lying around, any shooting attacks also gain the Overload (1) special rule.
Planetary Comms Array: The structure contains a powerful and still functioning communications system. For the loyalists this would allow them to coordinate with other pockets of survivors across the surface of lsstvan III.
If the Loyalists have models within the structure (or within 2" of it if it is Impassable Terrain) they may add 1 to any Reserve rolls if they wish. In addition, controlling the structure becomes an objective for both sides in any mission it features in. This secondary objective is worth 1 VP and can be scored at the beginning of each player turn.
Enduring Imperial Edifice: The structure was built after Isstvan III was brought into compliance during the Great Crusade; perhaps a basilica, castra excercitus or censorium. Adorned with icons of the Imperium it was a symbol of the power of the Imperial Truth. Now it is a reminder of what Horus' betrayal. Against all probability it stands nearly intact as if preserved to offer hope and shelter to those who still serve the truth that built it.
All Loyalist units within the structure (or within 2" of the structure if it is Impassable Terrain) gain +1 to their Leadership and Cool.
Failed Refuge: The bodies of the dead fill the structure. While the structure endured those that sheltered within it died without exception. Within its shell bodies cover the floor and crouch against the walls, their flesh charred and their armour half melted-a testament to the futility of seeking refuge in the face of such wanton destruction.
All units within the structure (or within 2" of the structure if it is Impassable Terrain) must reduce their Leadership by -1. Additionally, any cover saves claimed by using the structure is -1 less than it would otherwise be for its type (to a minimum of 6+).
Charnel House: The structure hides a bloody secret of Isstvan's rebellion - stained altars and brazen offering cauldrons fill its rooms. Dried blood covers the walls, and the cooked remains of sacrifices linger at the bottom of offering bowls. Within this house of murder, the old gods of Isstvan III speak in whispers of rage to the minds of those who have betrayed their kin.
All Traitor units within the structure (or within 2" of the structure if it is Impassable Terrain) gain +1 Attack if Charged. Units wishing to enter this structure must first pass a Leadership test.
Oracular Temple: The structure was a secret temple to an oracle that claimed to speak for the false gods worshipped on Isstvan III before the coming of the Imperial Truth. Within the temple's bounds the tide of fate flows against rationality, and strange visions of grim and dark futures float in the minds of those who cross its threshold.
All Traitor units within the structure add +1 to any Cover Saves (to a maximum of 3+). If the structure is Impassable Terrain, any model within 2” gains a 6+ Cover Save.
Death’s Tomb: The structure is a tomb to death and the dissolution of flesh. Part of the pantheon of worship that lurked beneath the surface of Isstvan III's compliance, the tomb is filled with rusted iron coffers filled with putrefying bodies. Flies cover the tomb's walls and maggots form a carpet on the floor. The scent of death is thick, and the buzz of flies sounds with the murmurous voices of the countless dead.
All Traitor units within the structure (or within 2" of the structure if it is Impassable Terrain) gain the Feel No Pain (6+) special rule, and Loyalist units within this range suffer -I Leadership.
Life-eater Bomb: The structure hides an undetonated life-eater virus bomb. If it is released it is capable of wiping the battlefield clean of life.
Roll a D6 as soon as this result is rolled. On a 4+ the life-eater bomb detonates. If the bomb does not detonate, roll again at the start of each game turn until it detonates or until the game ends. When the bomb detonates, every unit with a model within 6" of the structure takes a number of automatic hits equal to the number of models in the unit. All hits are S10 AP2 D8, and models cannot benefit from saves or damage mitigation rolls of any kind. Vehicles are affected but instead they are destroyed on a D6 roll of 4+.
Once this initial attack has been worked out, any additional unit within 6" of a unit that has suffered casualties from the initial strike is also attacked by the life-eater virus (same as previous). Once this second wave of attacks has been worked out, units within 6" of the second wave targets that suffered casualties are also affected, and so on. This process continues until there are no new units to target or until there are no eligible units within 6" of a unit that takes a casualty. Each unit may only be affected by the life-eater virus once per detonation.
Battlefield Debris
The surface of Isstvan III is littered with debris: the rubble of the buildings rise like desert dunes from the ash; the blasted shells of vehicles lie half submerged in splintered masonry and craters pock the fields of devastation like plague scars. The following are rules for types of debris which appear on the battlefields of Isstvan III.
Wrecked Vehicles
This follows the rules from the 3rd edition AoD BRB, p. 221. In addition, one model in base-to-base contact with the wrecked vehicle may attempt to fire a Twin Heavy Bolter (R36 FP6 RS5 AP4 D1). When attempting to fire a wrecked vehicle’s roll a D6 before making any rolls to hit:
D6 Result
1-2 The weapon does not fire this turn.
3-4 The weapon fires normally.
5-6 The weapon fires and gains the Breaching (6+) and Overload (1) rules.
Unexploded Ordnance
Unexploded macro shells, missiles and rockets lurk amongst the tangle of debris and ruins. Intended to level city districts and break fortifications, these lurking munitions can rip the heart out of an unwary army if detonated.
The piece of unexploded ordnance is Impassable Terrain that provides a 5+ Cover Save. If, however, a model successfully makes the cover save immediately roll a D6: on a roll of 1-2 the ordnance explodes. All models within 2D6" of the terrain take an automatic Strength D6+3 AP 3 D2 hit. Replace the unexploded ordnance with a suitable sized crater after it has exploded. The crater provides a 6+ Cover Save and is Difficult and Dangerous Terrain.
Units may deliberately target the unexploded ordnance in the Shooting phase. It counts as having an Armour value of 10. For every penetrating hit caused to the ordnance, roll a D6. On a roll of a 1-3 the ordnance explodes as explained above.
Corpse Mound
The dead are everywhere on Isstvan III. The shattered remains of thousands of dead Legionaries lie heaped like flotsam on a seashore, leaking liquefied flesh from the split joints and broken eye pieces of their armour.
The corpse mound is considered Medium Area Terrain, but any unit within its boundaries suffers a -1 Leadership and Cool penalty.
Ash Pool
Trees, parchment and flesh, all became ash in the firestorm that broke out after the life-eater virus had done its work. Carried by super-heated winds, the finest grains of ash have gathered in sinkholes and craters. While the surface of such ash pools may look flat and firm, a misstep may completely swallow the unwary.
An ash pool is both Difficult Terrain and Dangerous Terrain, but provides no Cover Save.
Drop Pod Carcass
Hundreds of drop pods remain from when the Loyalists deployed to bring lsstvan III back into compliance. Now many remain strewn across the grey sea of wreckage and ruin.
A Drop Pod carcass follows the Wrecked Vehicles rules from the 3rd edition AoD BRB, p. 221.
Conclusion
I hope you enjoyed this blog post. I have the entirety of the Isstvan III campaign in a PDF, so if you would like a copy let me know!
In the meantime, you can check me out Instagram or Facebook!
