Isstvan V pt. 1
The Dropsite Massacre campaign is played in a faction format between two sides ( or teams) of players. One side represents the Imperial Loyalists and the other side represents the Warmaster's Traitors. The campaign is fought across three phases, representing the deadly three-hour conflict.
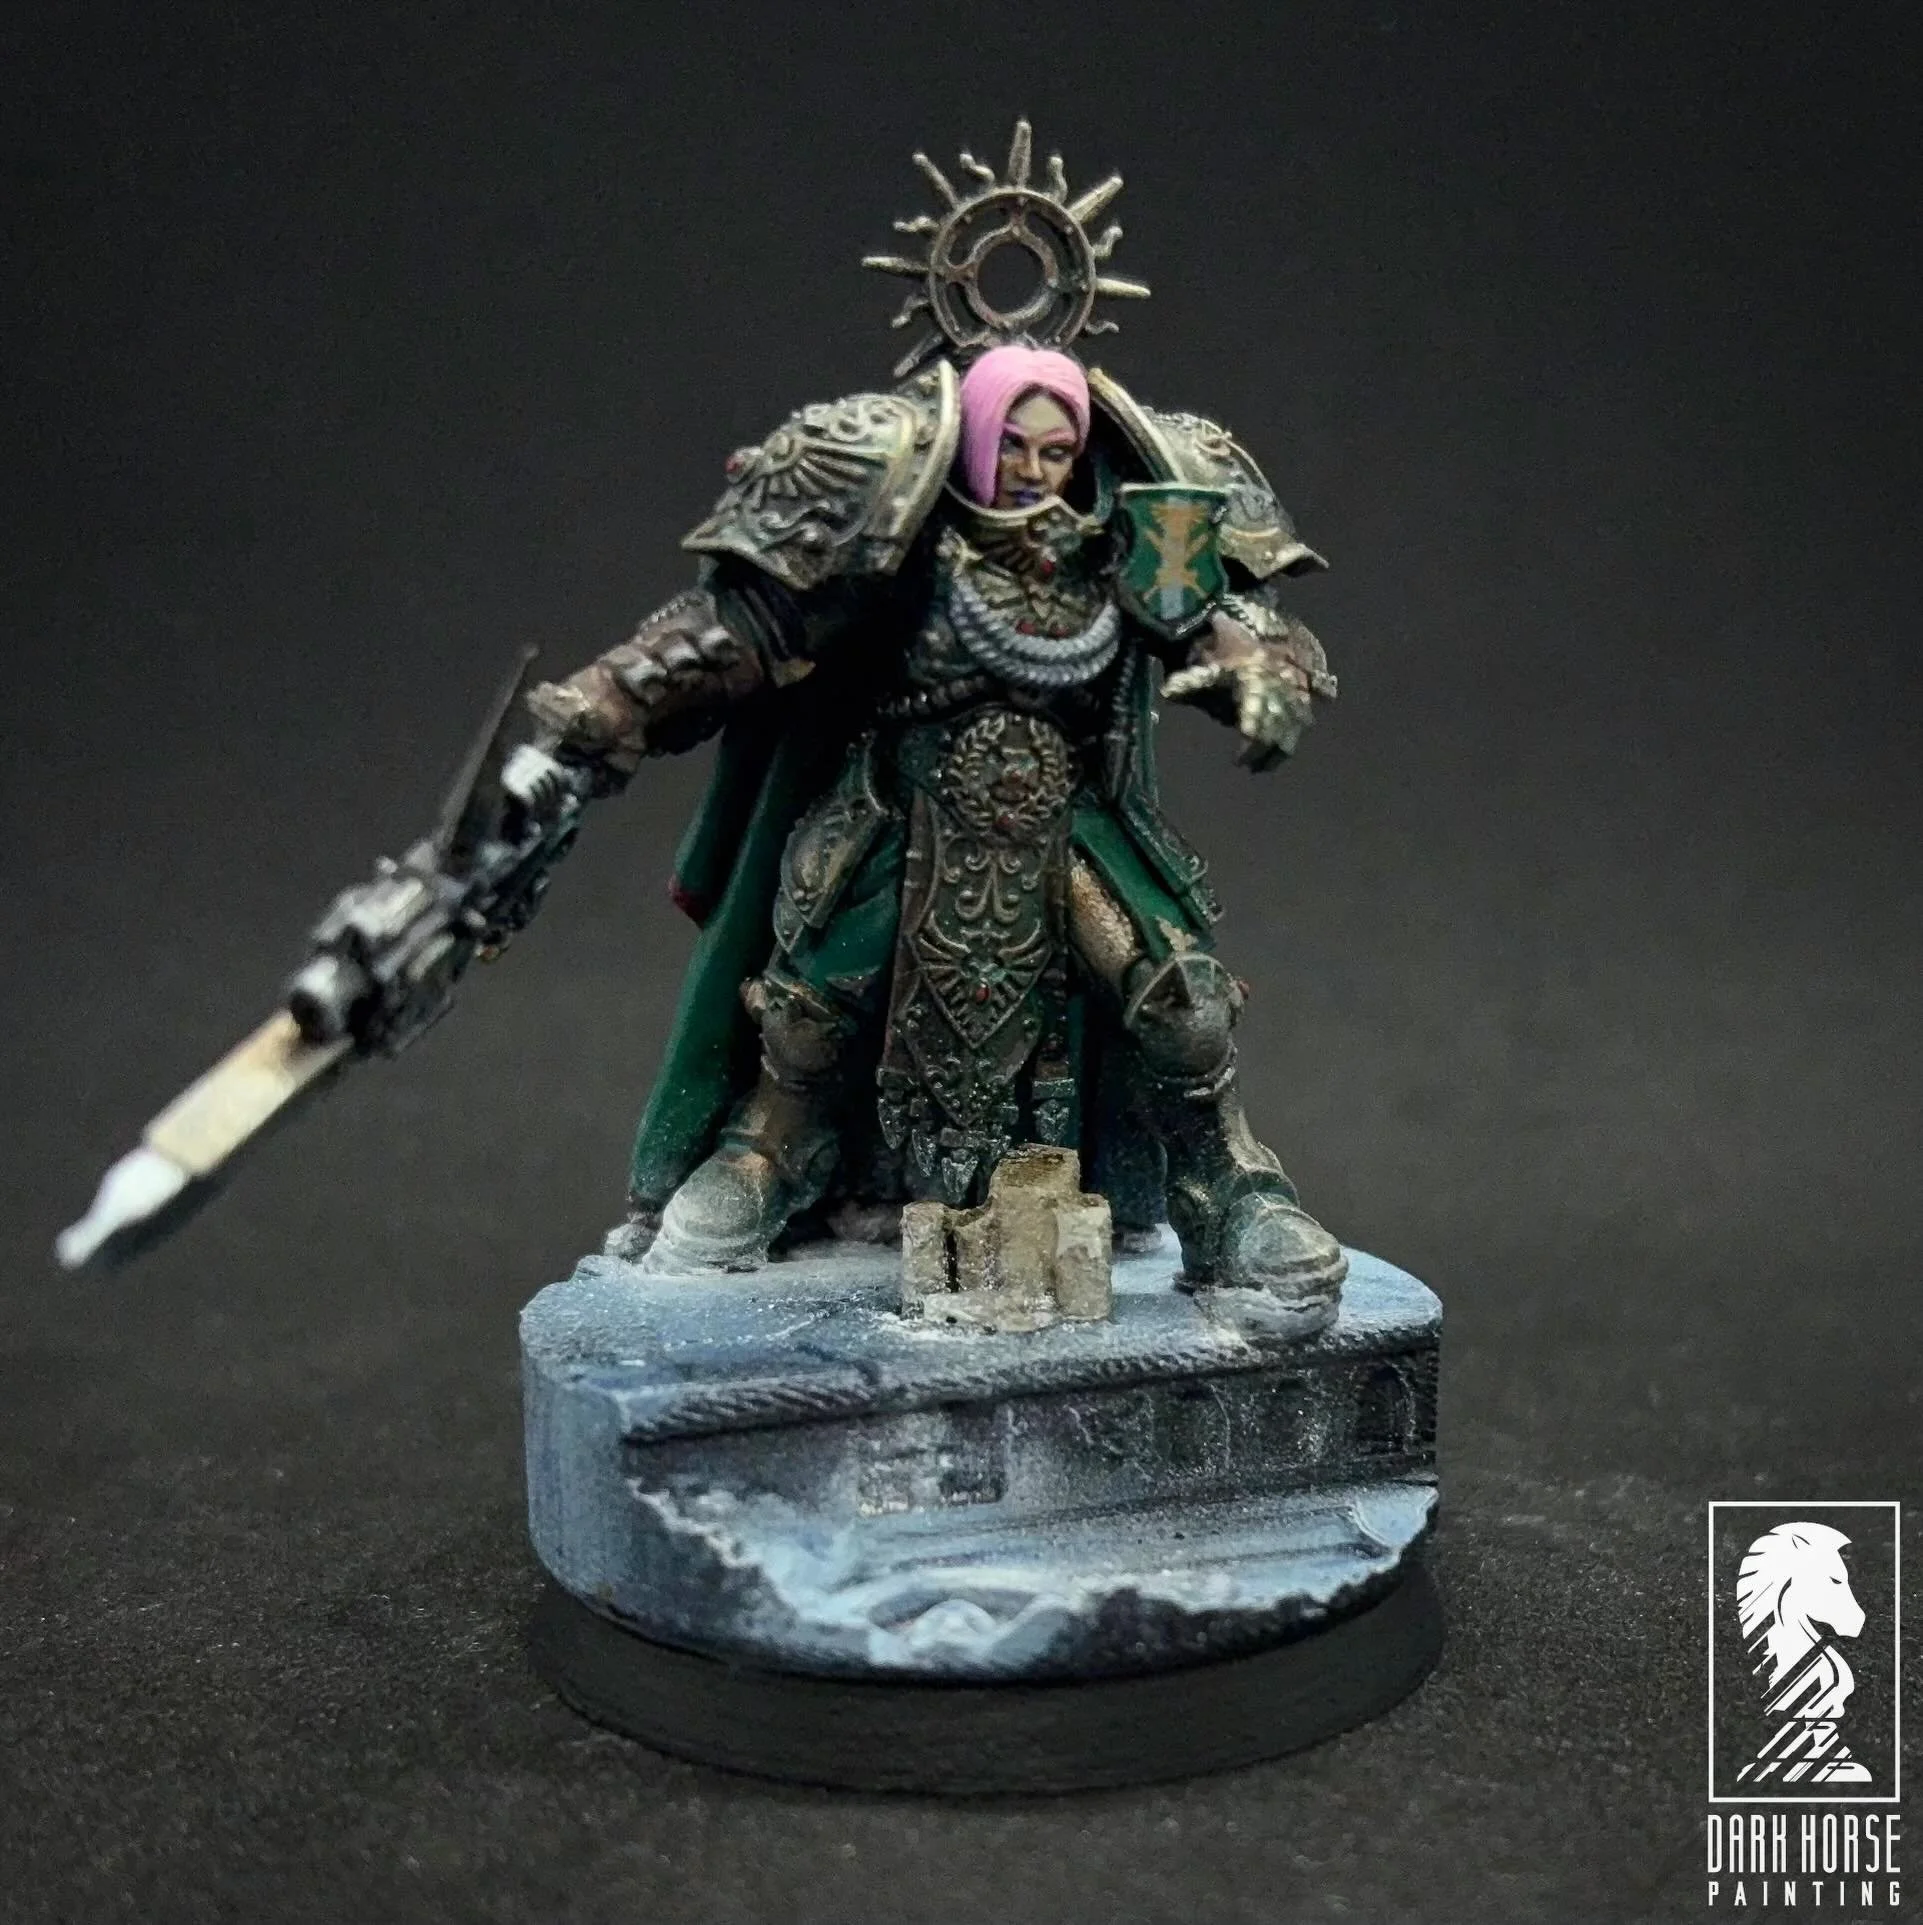
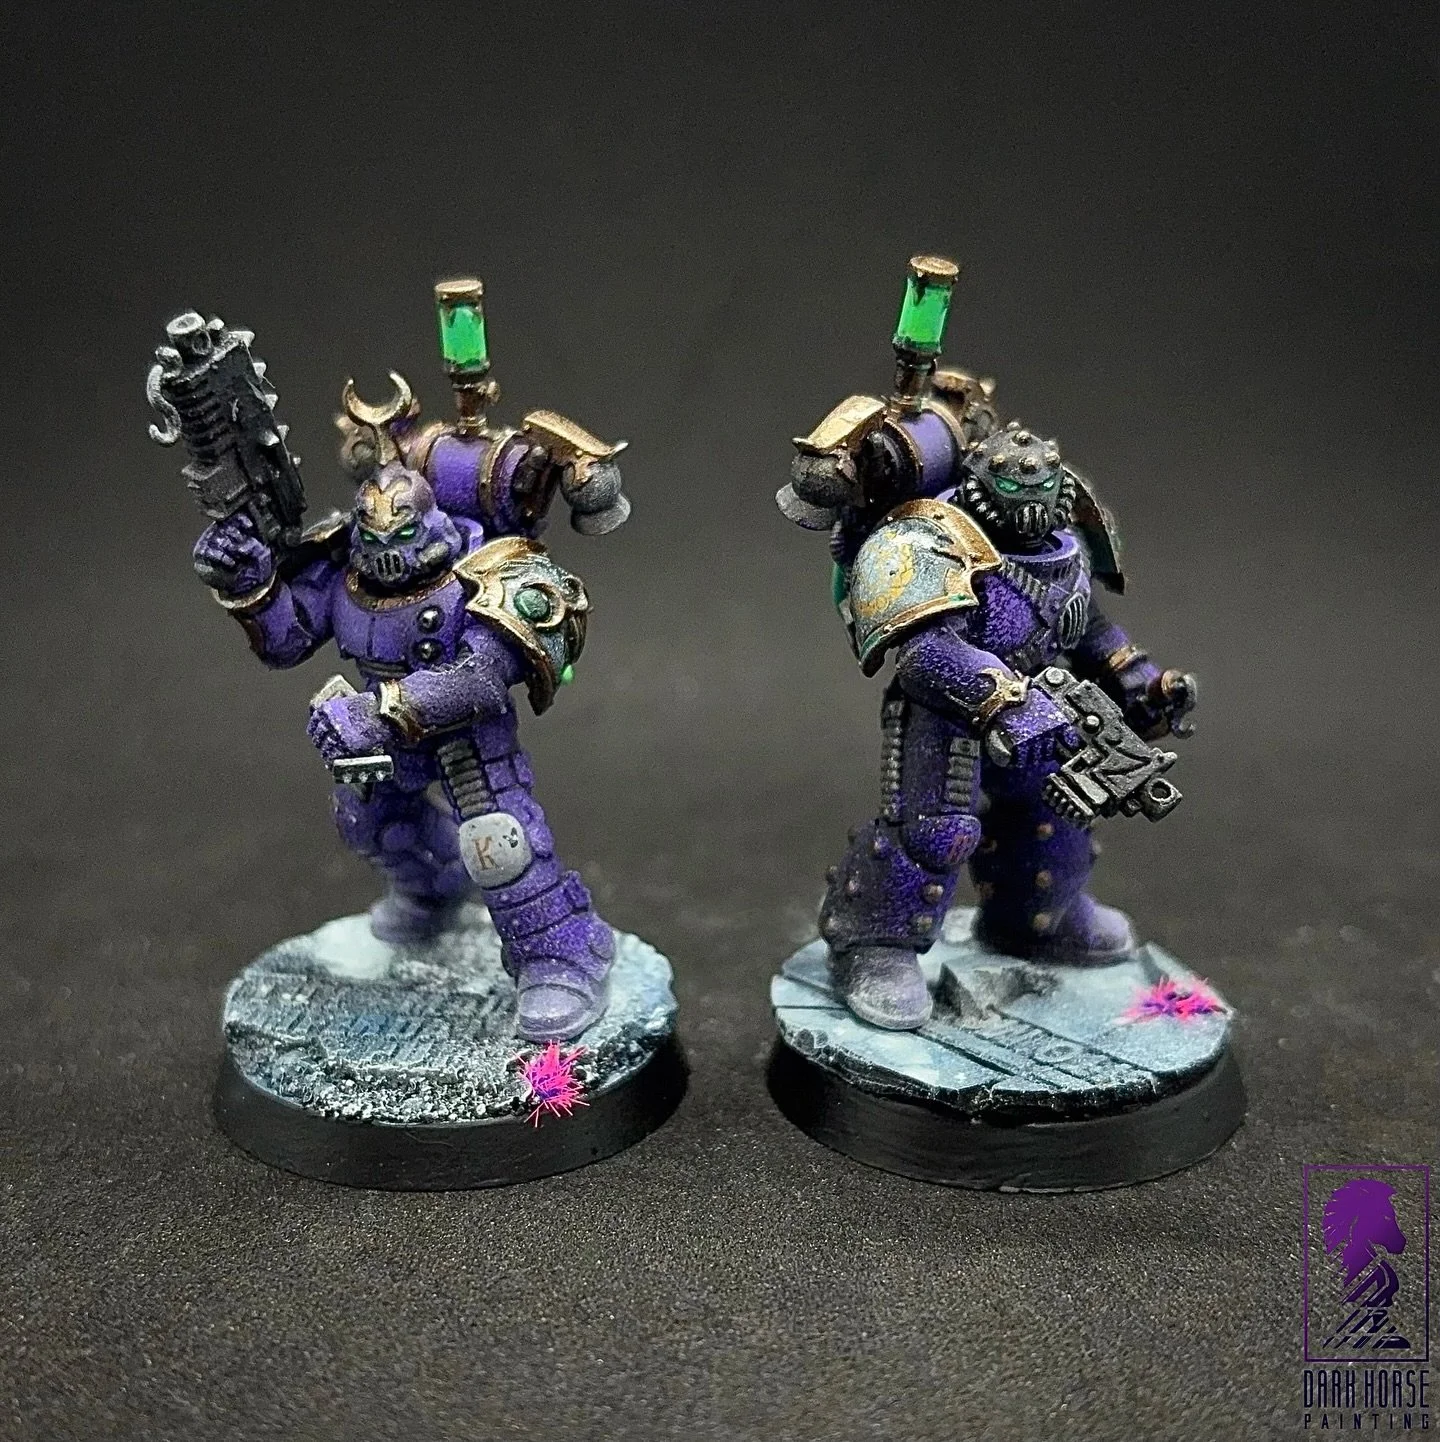
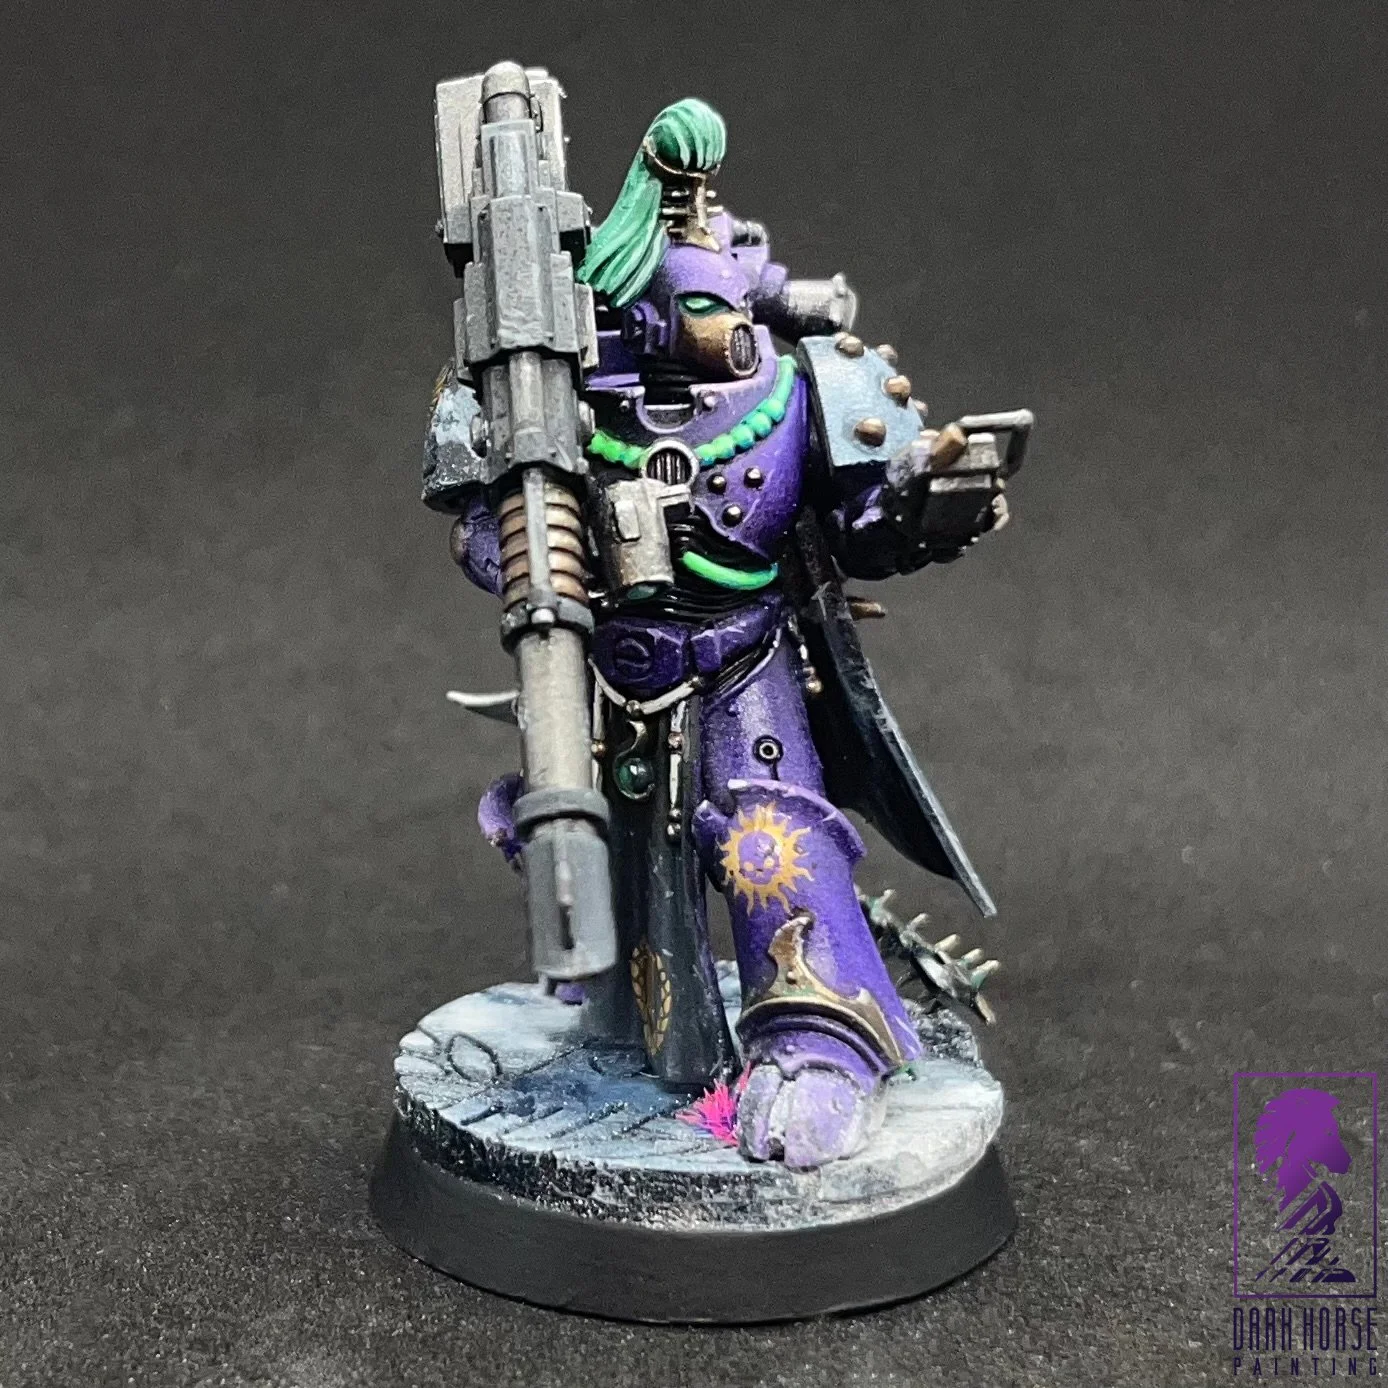
Raven Guard Seekers
The two sides play one or more games against each other, representing the pivotal battles happening around the Urgall Depression, around which thousands of other battles are also being waged 'offcamera' so to speak, with each phase having its own particular characteristics and adding value to the wider campaign. At the end of the predetermined number of battles fought for each phase, the results of the games played determine which side has won that phase. Each phase is fought separately and this structure allows advantage to swing between the two sides without one side being certain of victory before the campaign's conclusion.
Note: Because of the campaign's faction structure, in practice the number of players 'per side' in the campaign doesn't actually have to be equal (although it is somewhat easier to arrange games if this is the case). An odd number of players just means that the side with the fewer players is going to end up having to play more games per player. Also, you can have 'guest' players who can just drop in to play 'pick-up' games during the campaign, so long as their results are logged correctly.
Campaign Points
Games played in each Campaign phase earn each side Campaign Points (CPs), and when all of the designated battles for that Campaign phase have been fought, the side with the greatest number of Campaign Points is the overall winner for that phase. If both sides have an equal number of Campaign Points at the end of the Campaign phase, then a stalemate has been achieved (which is to say it has no overall victor and neither side gains any Strategic Points for controlling it).
The number of Campaign Points gained from a game varies depending on the mission played. Some missions are worth more in particular phases than others and some grant Campaign Points for the players meeting certain conditions or achieving outcomes other than clear victory. All of these variations are listed in the Campaign Points section of each phase.
Each Campaign Phase also has a legendary battle attached to it. This battle represents a pivotal moment in the on-going narrative story of the Dropsite Massacre. These should always be played last in your sequence of battles for each Campaign phase if possible, and victory in a legendary mission is worth a larger number of Campaign Points, and can be a superb climactic battle for the end of a phase's games.
At the end of Phase III, the side with the highest number of Campaign Points is the winner!
Thematic Terrain for the Dropsite Massacre
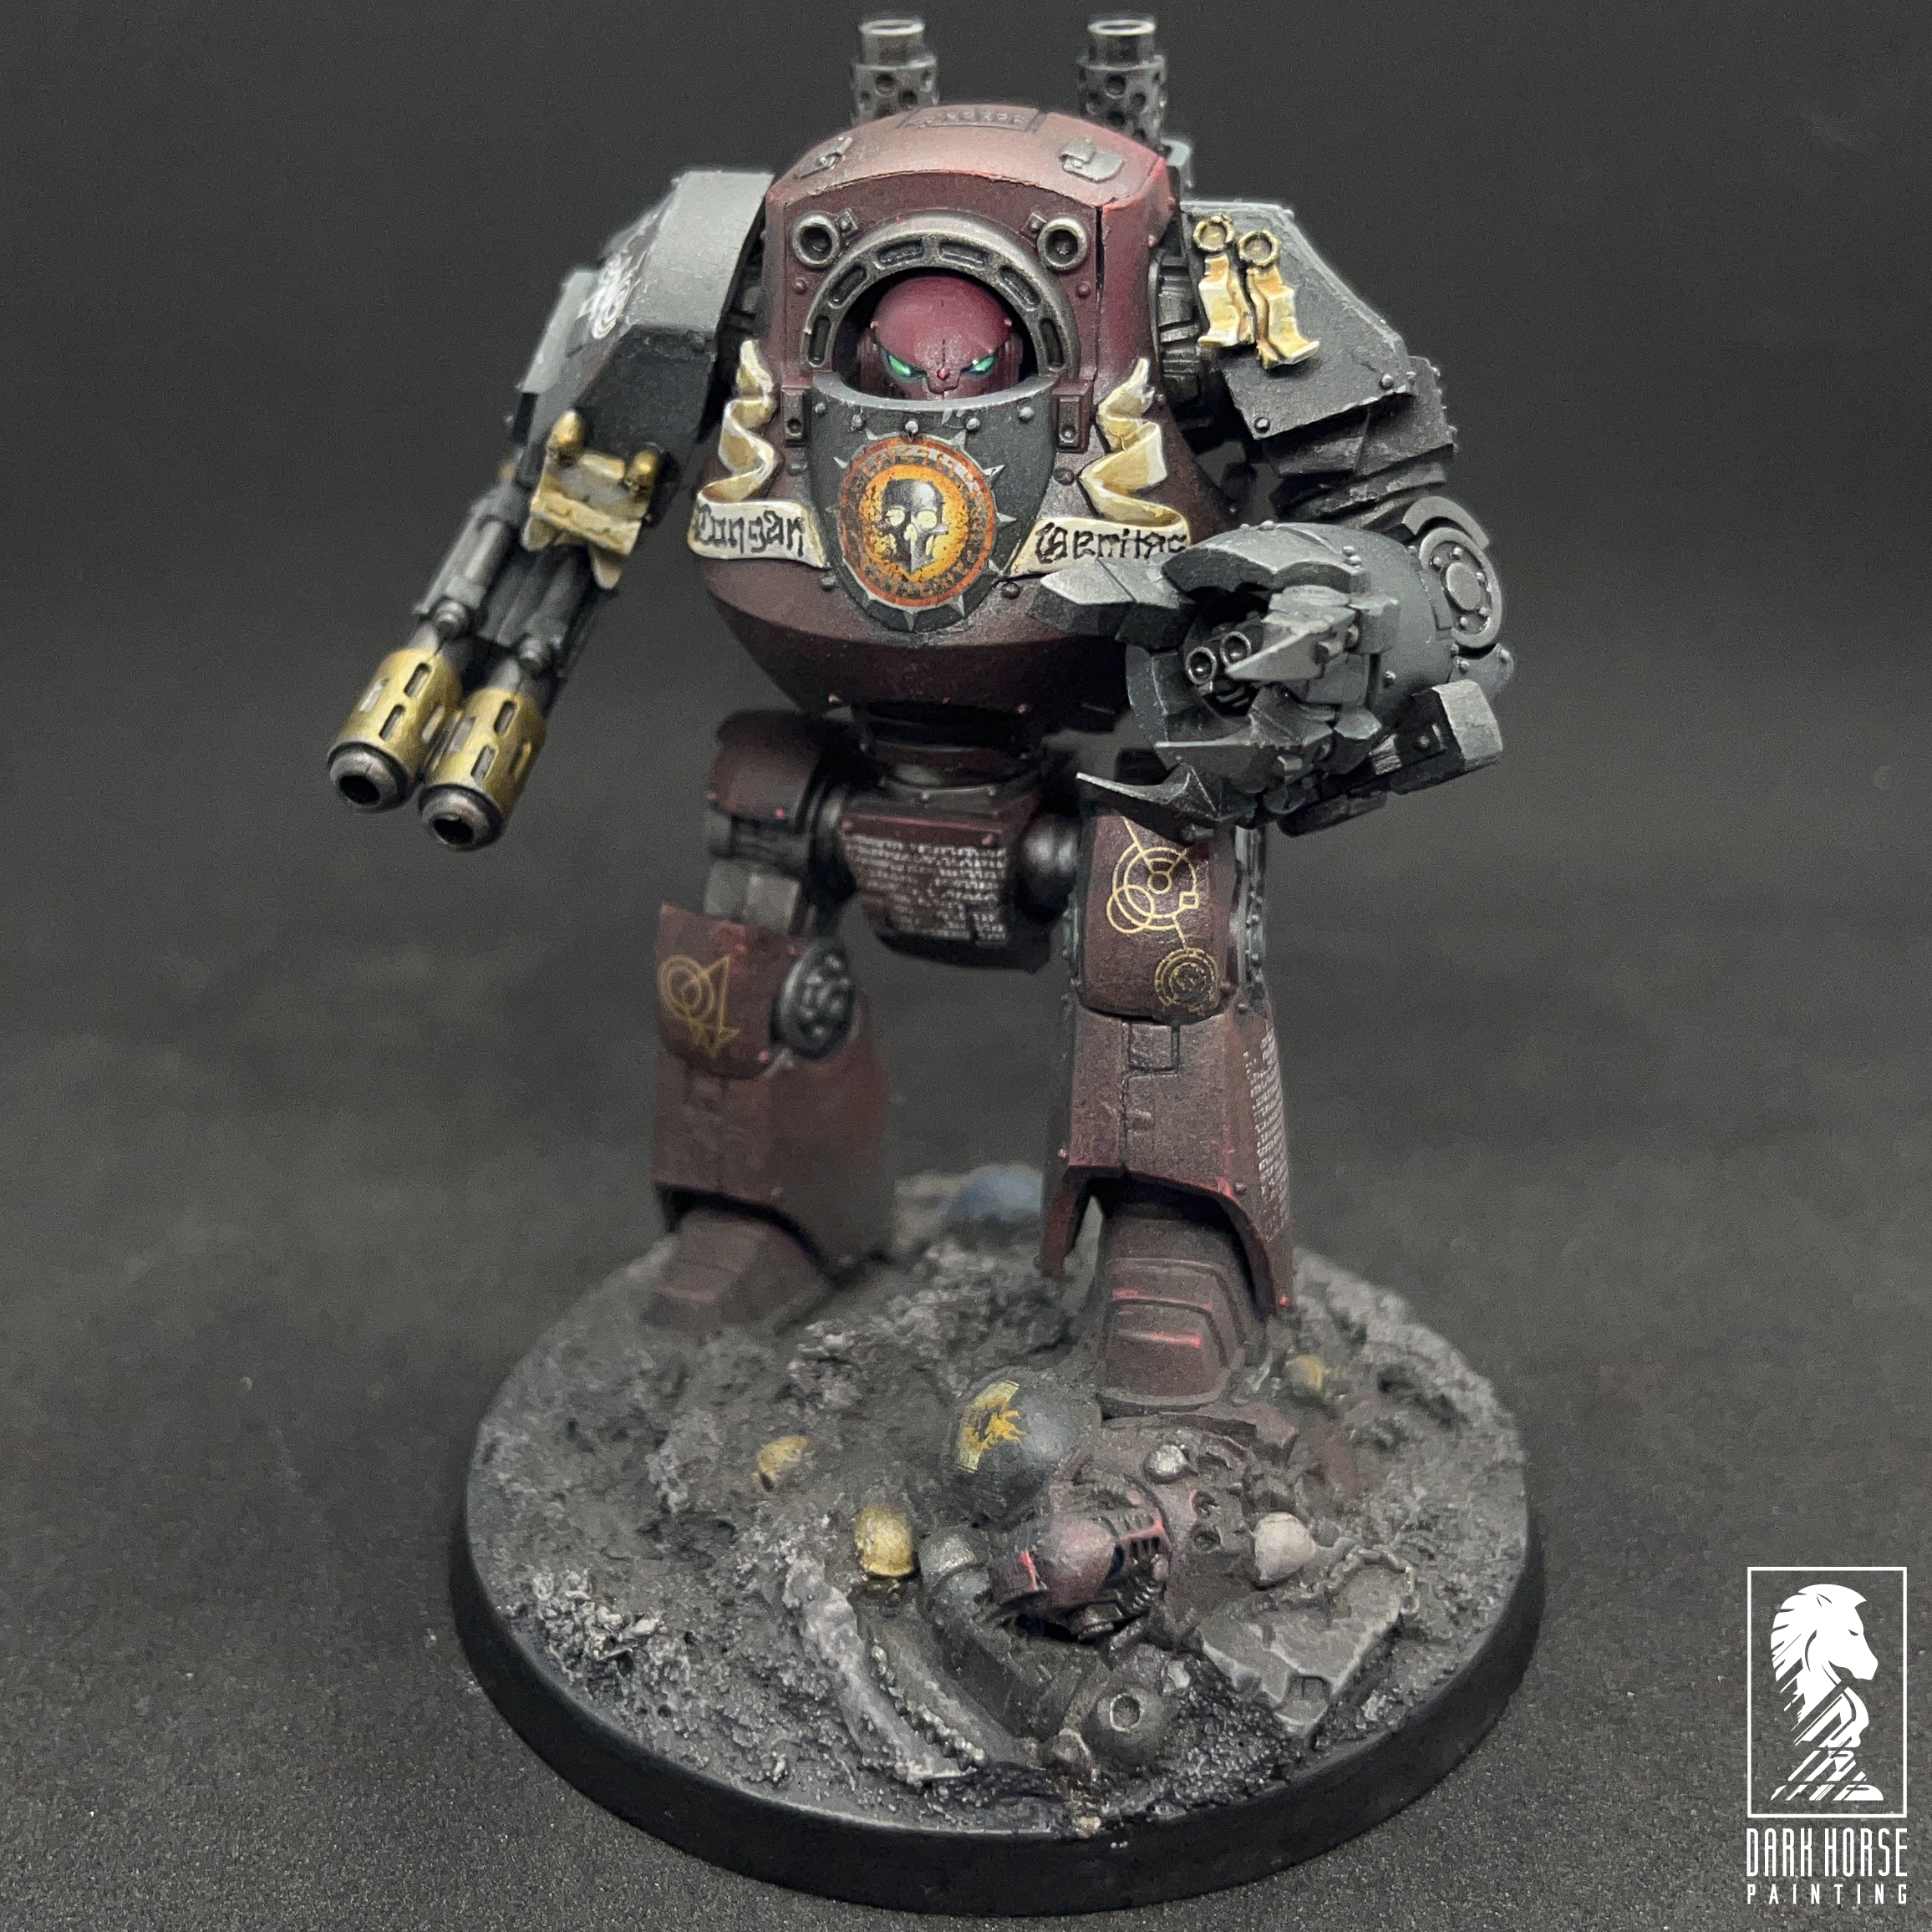
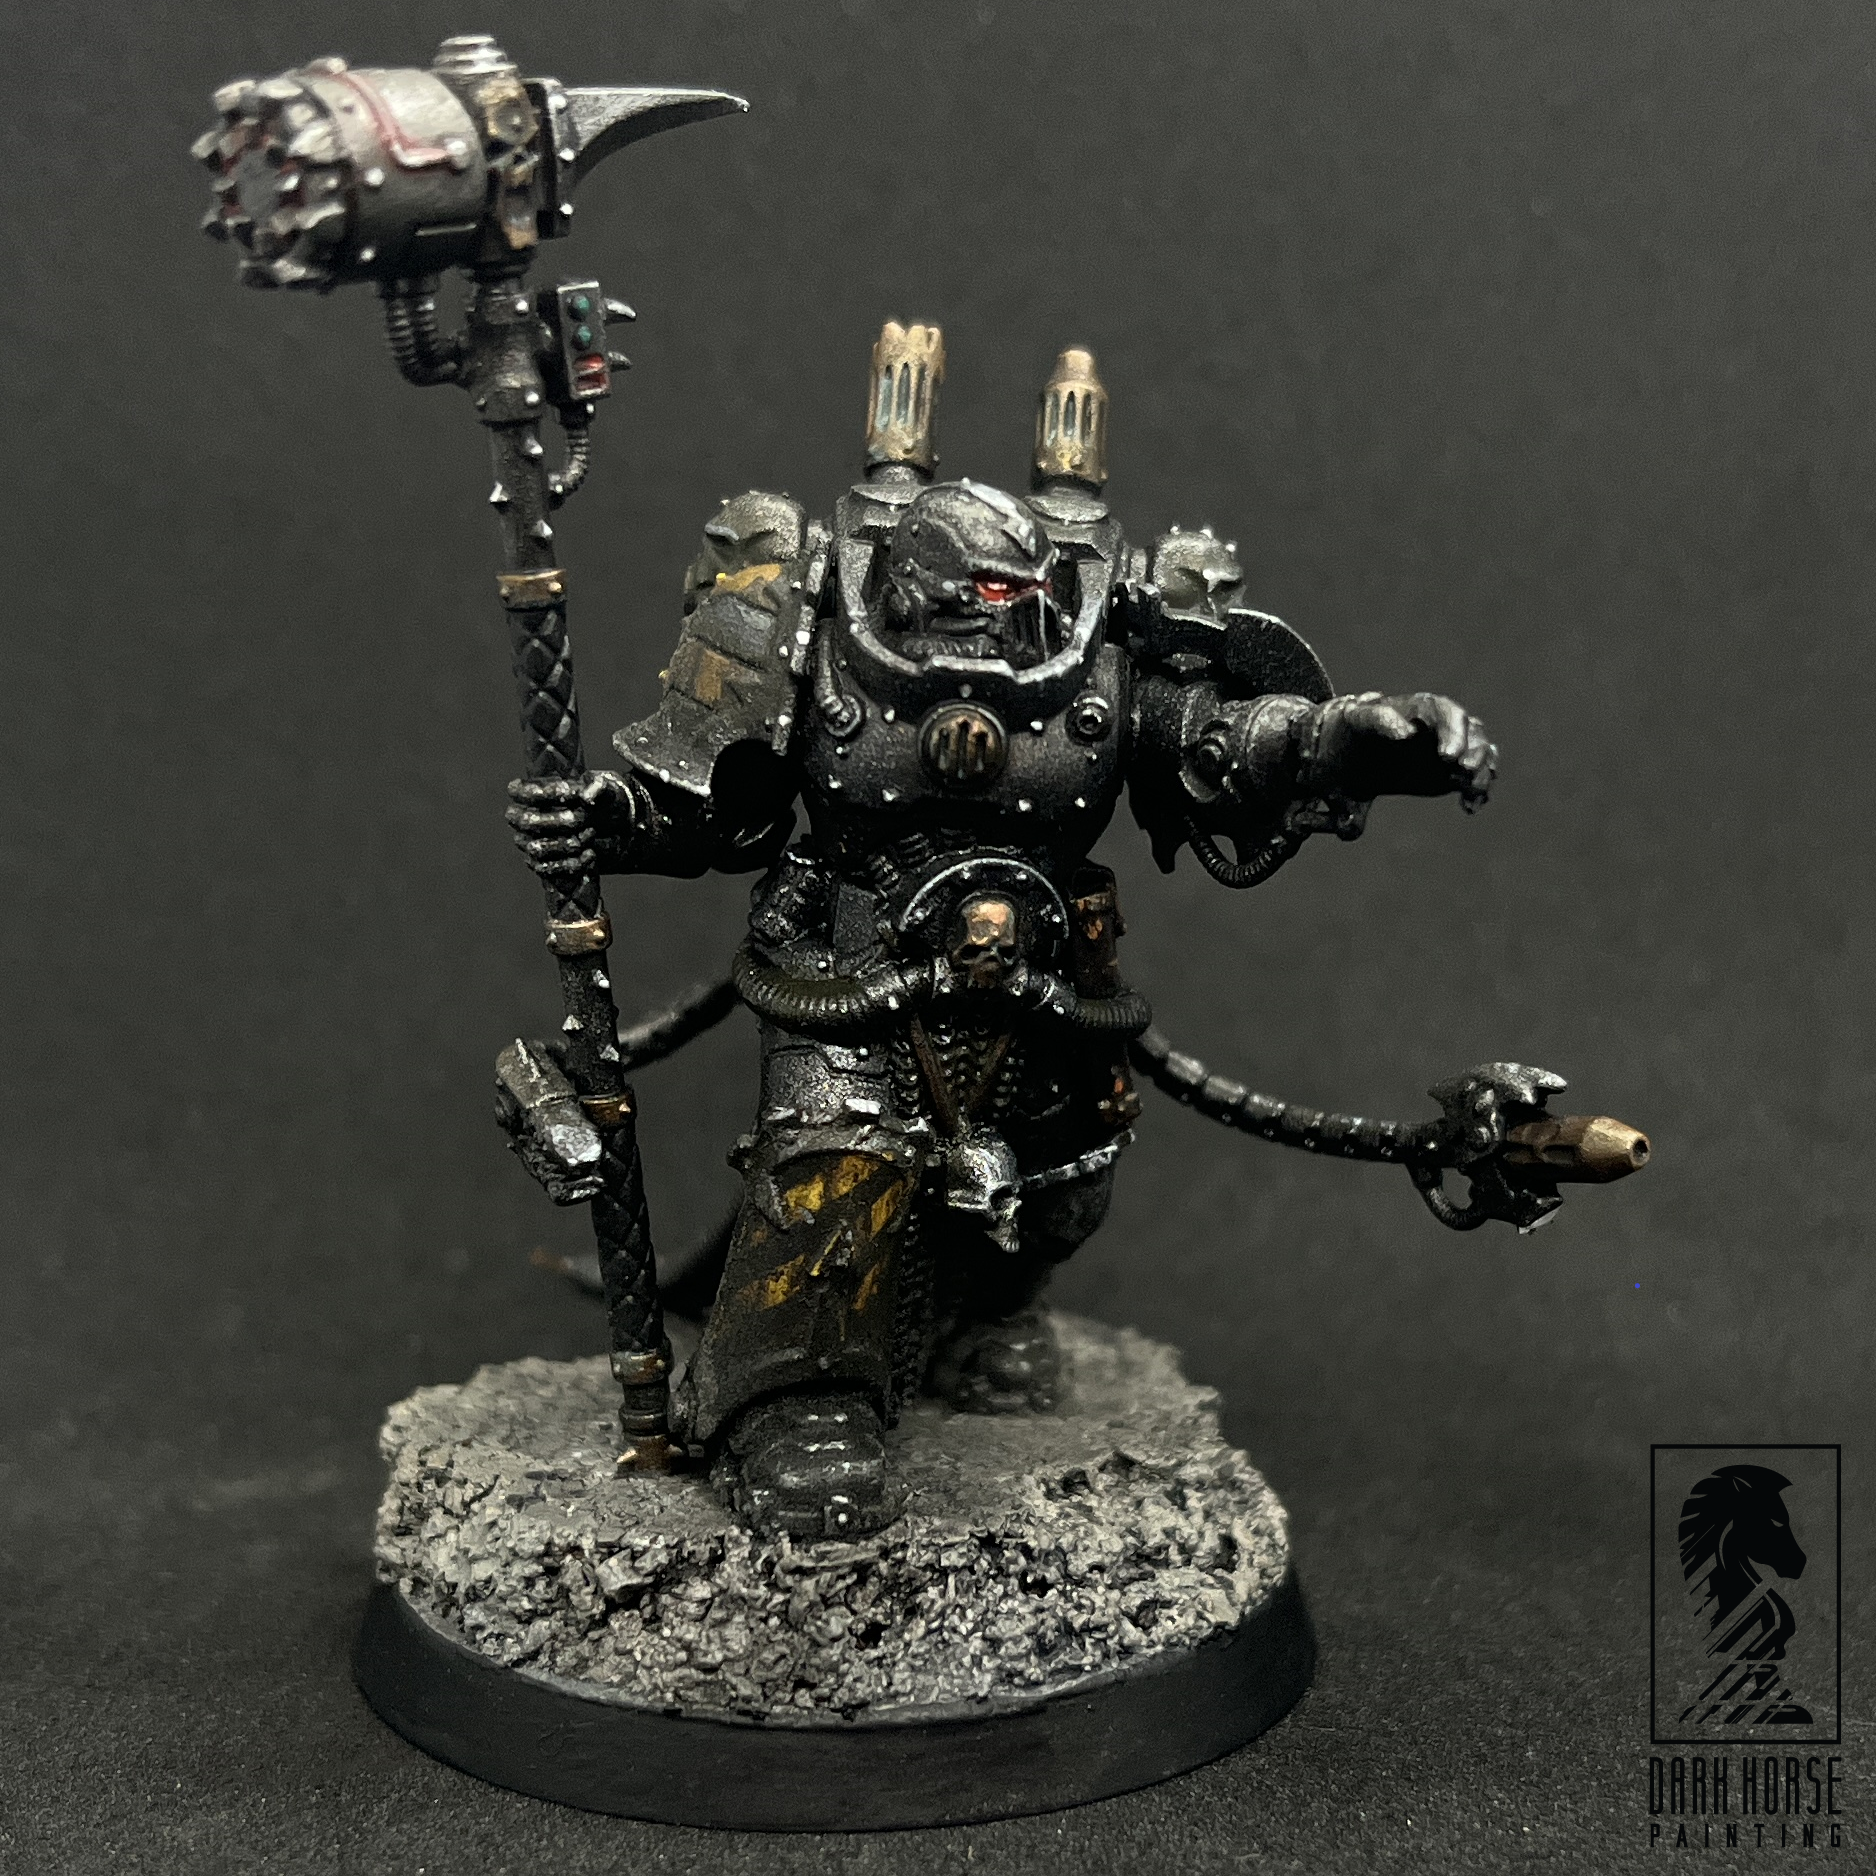
An unknown Word Bearers Contemptor Dreadnought, presumed lost on Isstvan V.
The Dropsite Massacre takes place almost entirely within the environs of an area known as the Urgall Depression on the desolate world of lsstvan V. If you're planning to fight the Dropsite Massacre campaign you can, of course, do so with any terrain you have on hand, or you can use the campaign as a great excuse for you and your friends to make or buy some cool purpose-built terrain and perhaps even entire custom boards to play on! By way of guidance for this, the Urgall Depression is a wide wasteland valley with dunes and deadfalls of black sand, patches of coarse scrub and is strewn with volcanic rock.
In areas it has been riddled with fresh trenches, bunkers and defence works, while in others it is bounded by sharply rising ragged hills and sheer cliff faces, and tangled maze-like conglomerations of ravines and mesas. At one extreme the ancient ruins of a cyclopean alien fortress have been rebuilt and added to as the Traitor fortress, while at the other, the flatland rapidly becomes occupied with Loyalist landing craft, spent drop pods, and hastily built and prefabricated fortifications landed from orbit. As the battle continues, the whole of the Urgall Depression is strewn with burning wreckage, shell-craters and the bodies of the dead.
Note: If you want to visualize the ground covered in this campaign, it is useful to look at a map. You can find various versions of the map in official publications and on the google box.
Suggested Optional Terrain Rules
• Black Sand Dune: The dunes of volcanic sand are treacherous and conceal deadfalls and other hazards prepared by the Traitors. They are Difficult Terrain and, in addition, the first time any unit moves through or over the dune, roll a D6. On a 6, it is counted as Dangerous Terrain for the rest of the game.
• Unexploded Ordnance: This is a shell crater with a nasty surprise lurking inside. As well as providing cover like a normal crater, every time a vehicle moves over it or an attack from a Blast weapon lands anywhere on the terrain feature, roll a D6. On a roll of a 6, every model within 1" of the terrain and everything inside it suffers a Strength 8 AP 3 D2 hit (vehicles are struck on their weakest Armour facing). Once this has detonated, it will not do so again during the game.
• Treacherous Crevasse: Such are the tortuous forces unleashed in the battle, that the ground itself may become dangerously unstable. This terrain feature is best represented by a jagged rift in the earth, for which you should construct several sections you can add to (or use cardboard templates, etc). The Crevasse is impassable to Infantry (unless Antigrav), and Dangerous Terrain to Cavalry, Walkers, and Vehicles. At the start of each turn after the second turn, roll a D6 for each Crevasse on the table. On the roll of a 5+, extend it by D6" (or one section) in a random direction. Models caught by the extending Crevasse must take a Dangerous Terrain test and if they survive, be placed 1" away from it afterwards.
• Tunnel Entrance: This represents one of the entrances to the network of concealed defence tunnels and trenchworks constructed by the defenders in preparation for the Loyalist attack. Infantry units from the side classed as the Defender held in reserve may enter play from the tunnel entrance, starting on Turn 1. However, the Reserve Roll must be made at -1 if they choose to do so.
• Supply Cache: This can represent either supply pods dropped as part of the Loyalist attack or arms caches concealed by the defenders, and can also be incorporated into vehicle wrecks, crashed Thunderhawks, and the like. Infantry models within 3" gain +1 BS (to a maximum of BS6) while there is not also an enemy unit within 3” of the supply cache.
Campaign Phases
PHASE I: THE LOYALISTS STRIKE
Despite Corvus Corax’ pleads for caution, Ferrus Manus led the Loyalist forces from the front. With the might of three full-strength Legions against four post-Istvaan III, the Loyalists crashed into the surface by drop pod and drop ship. The Loyalists seemingly had four additional Legions in reserve, ready to land with the second wave. Horus and his Traitors, despite digging in, had nowhere to go.
Campaign Points
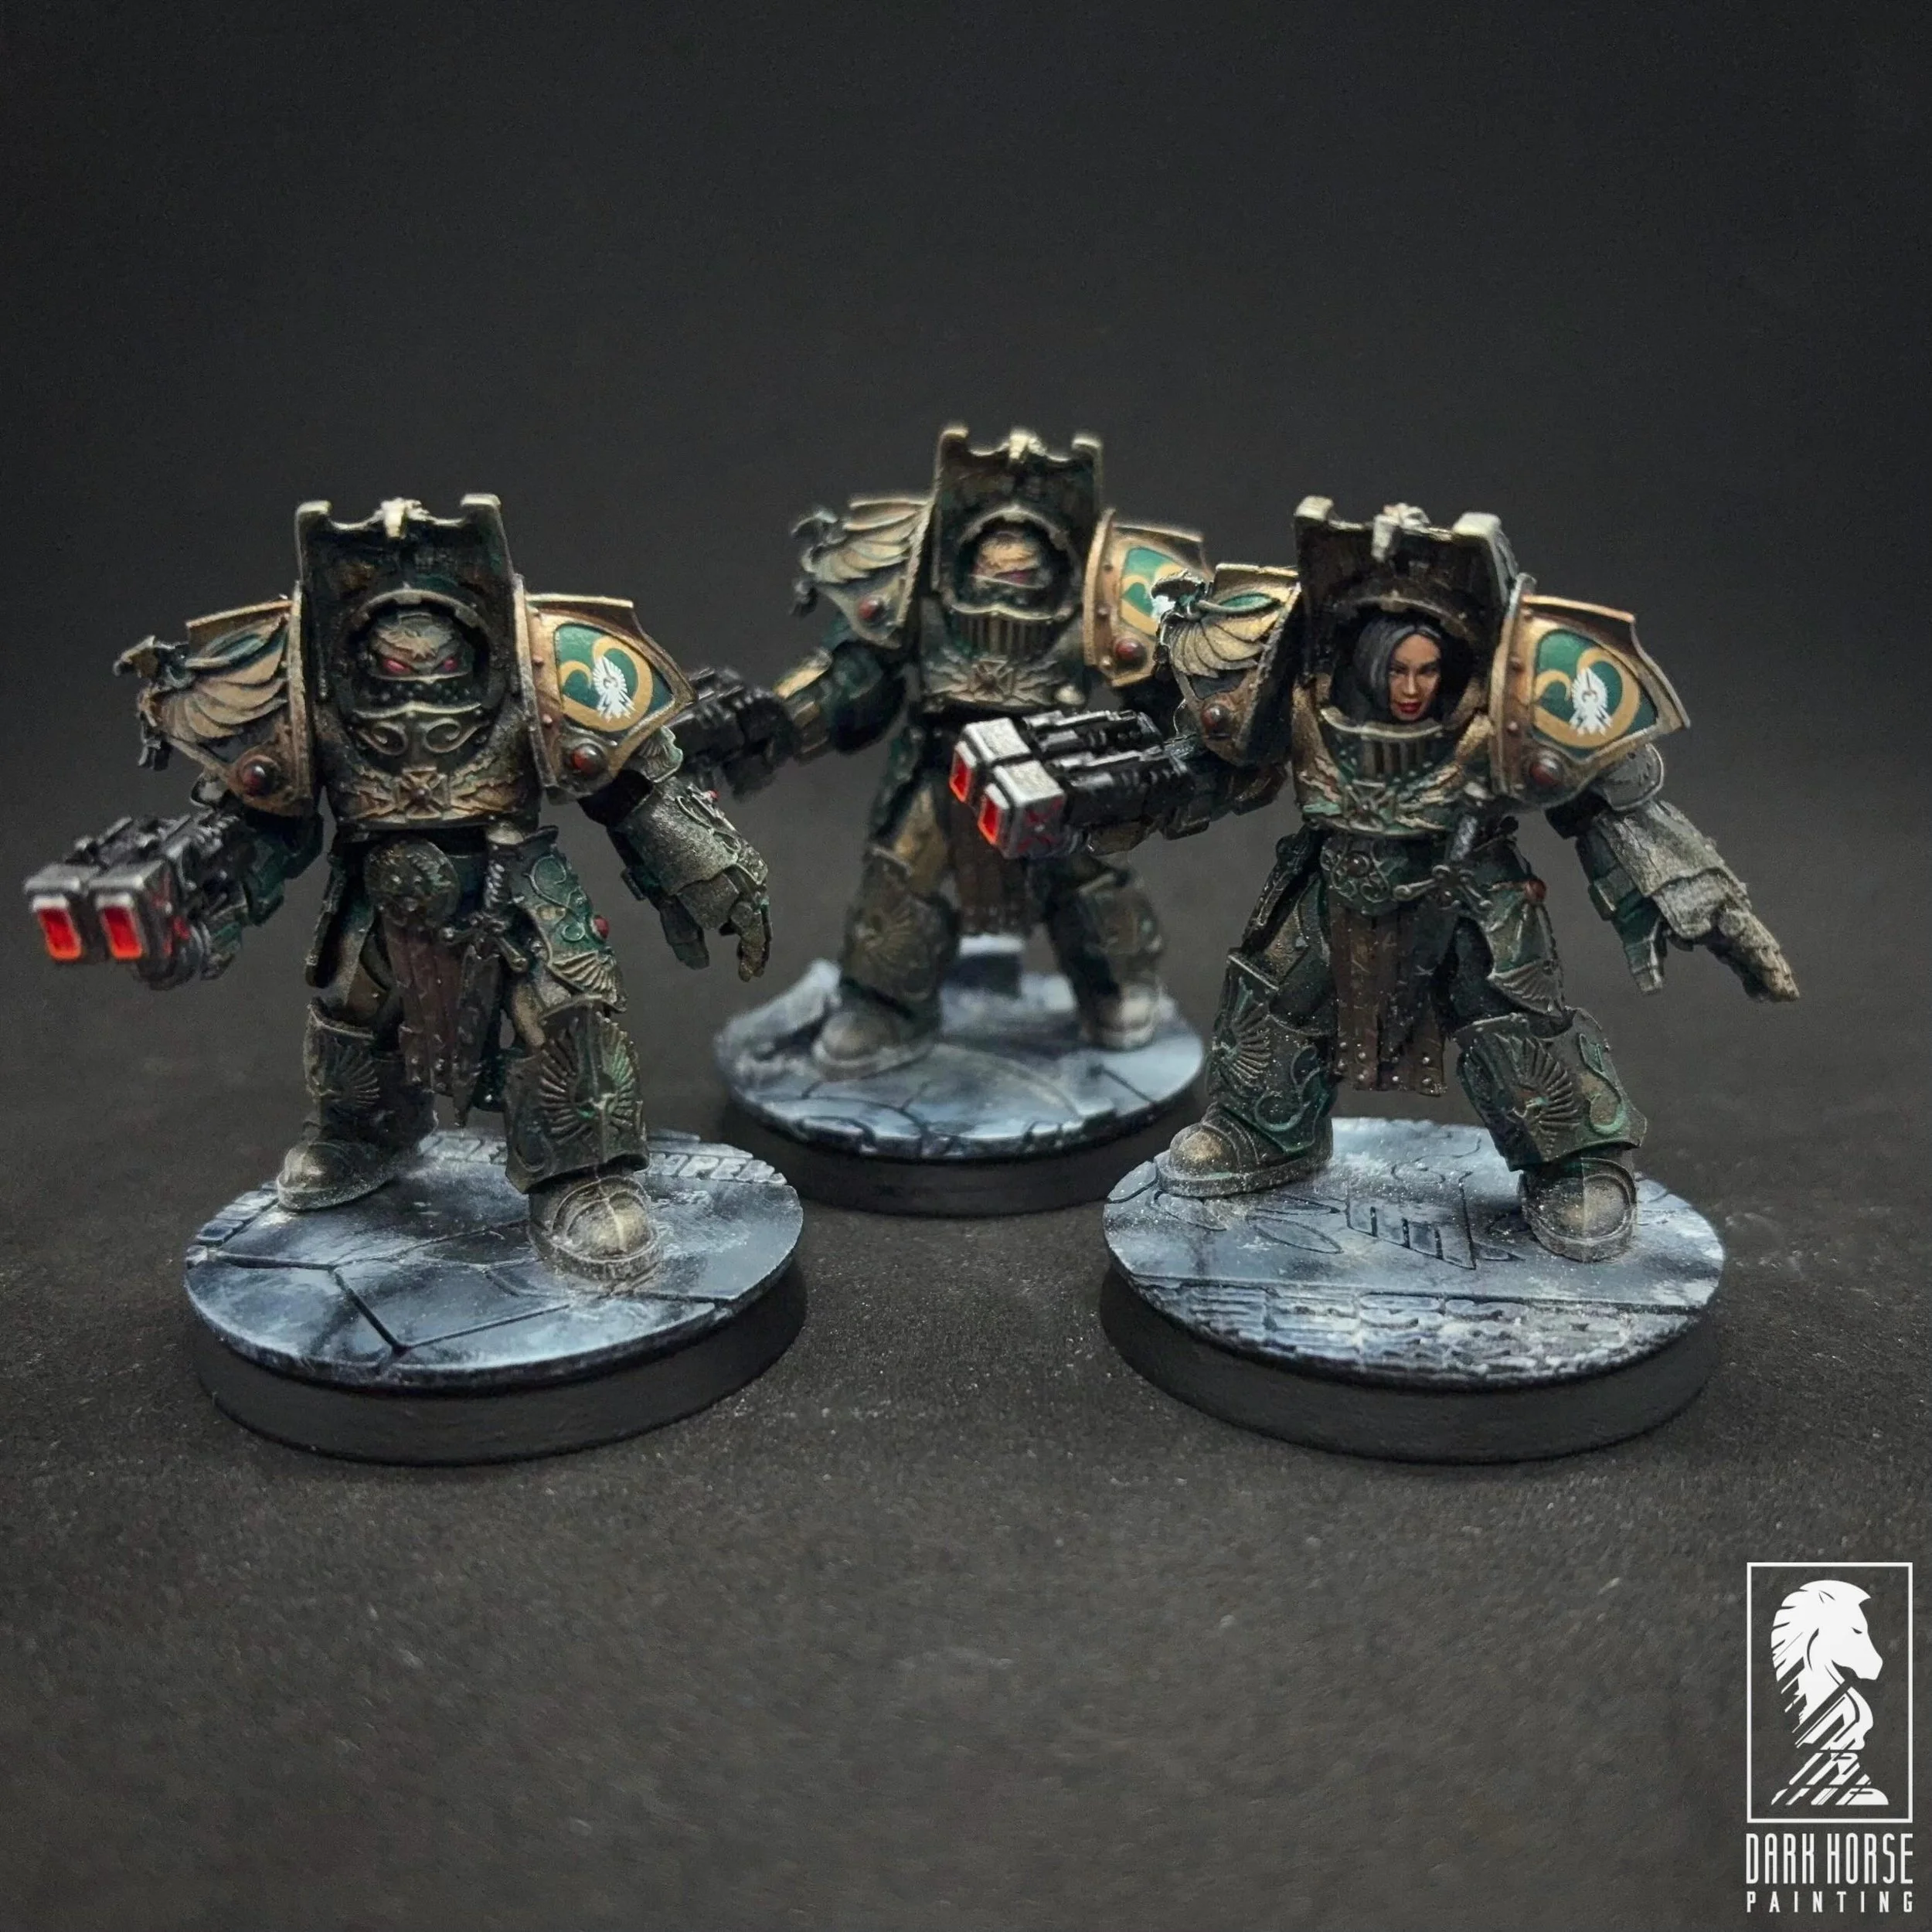
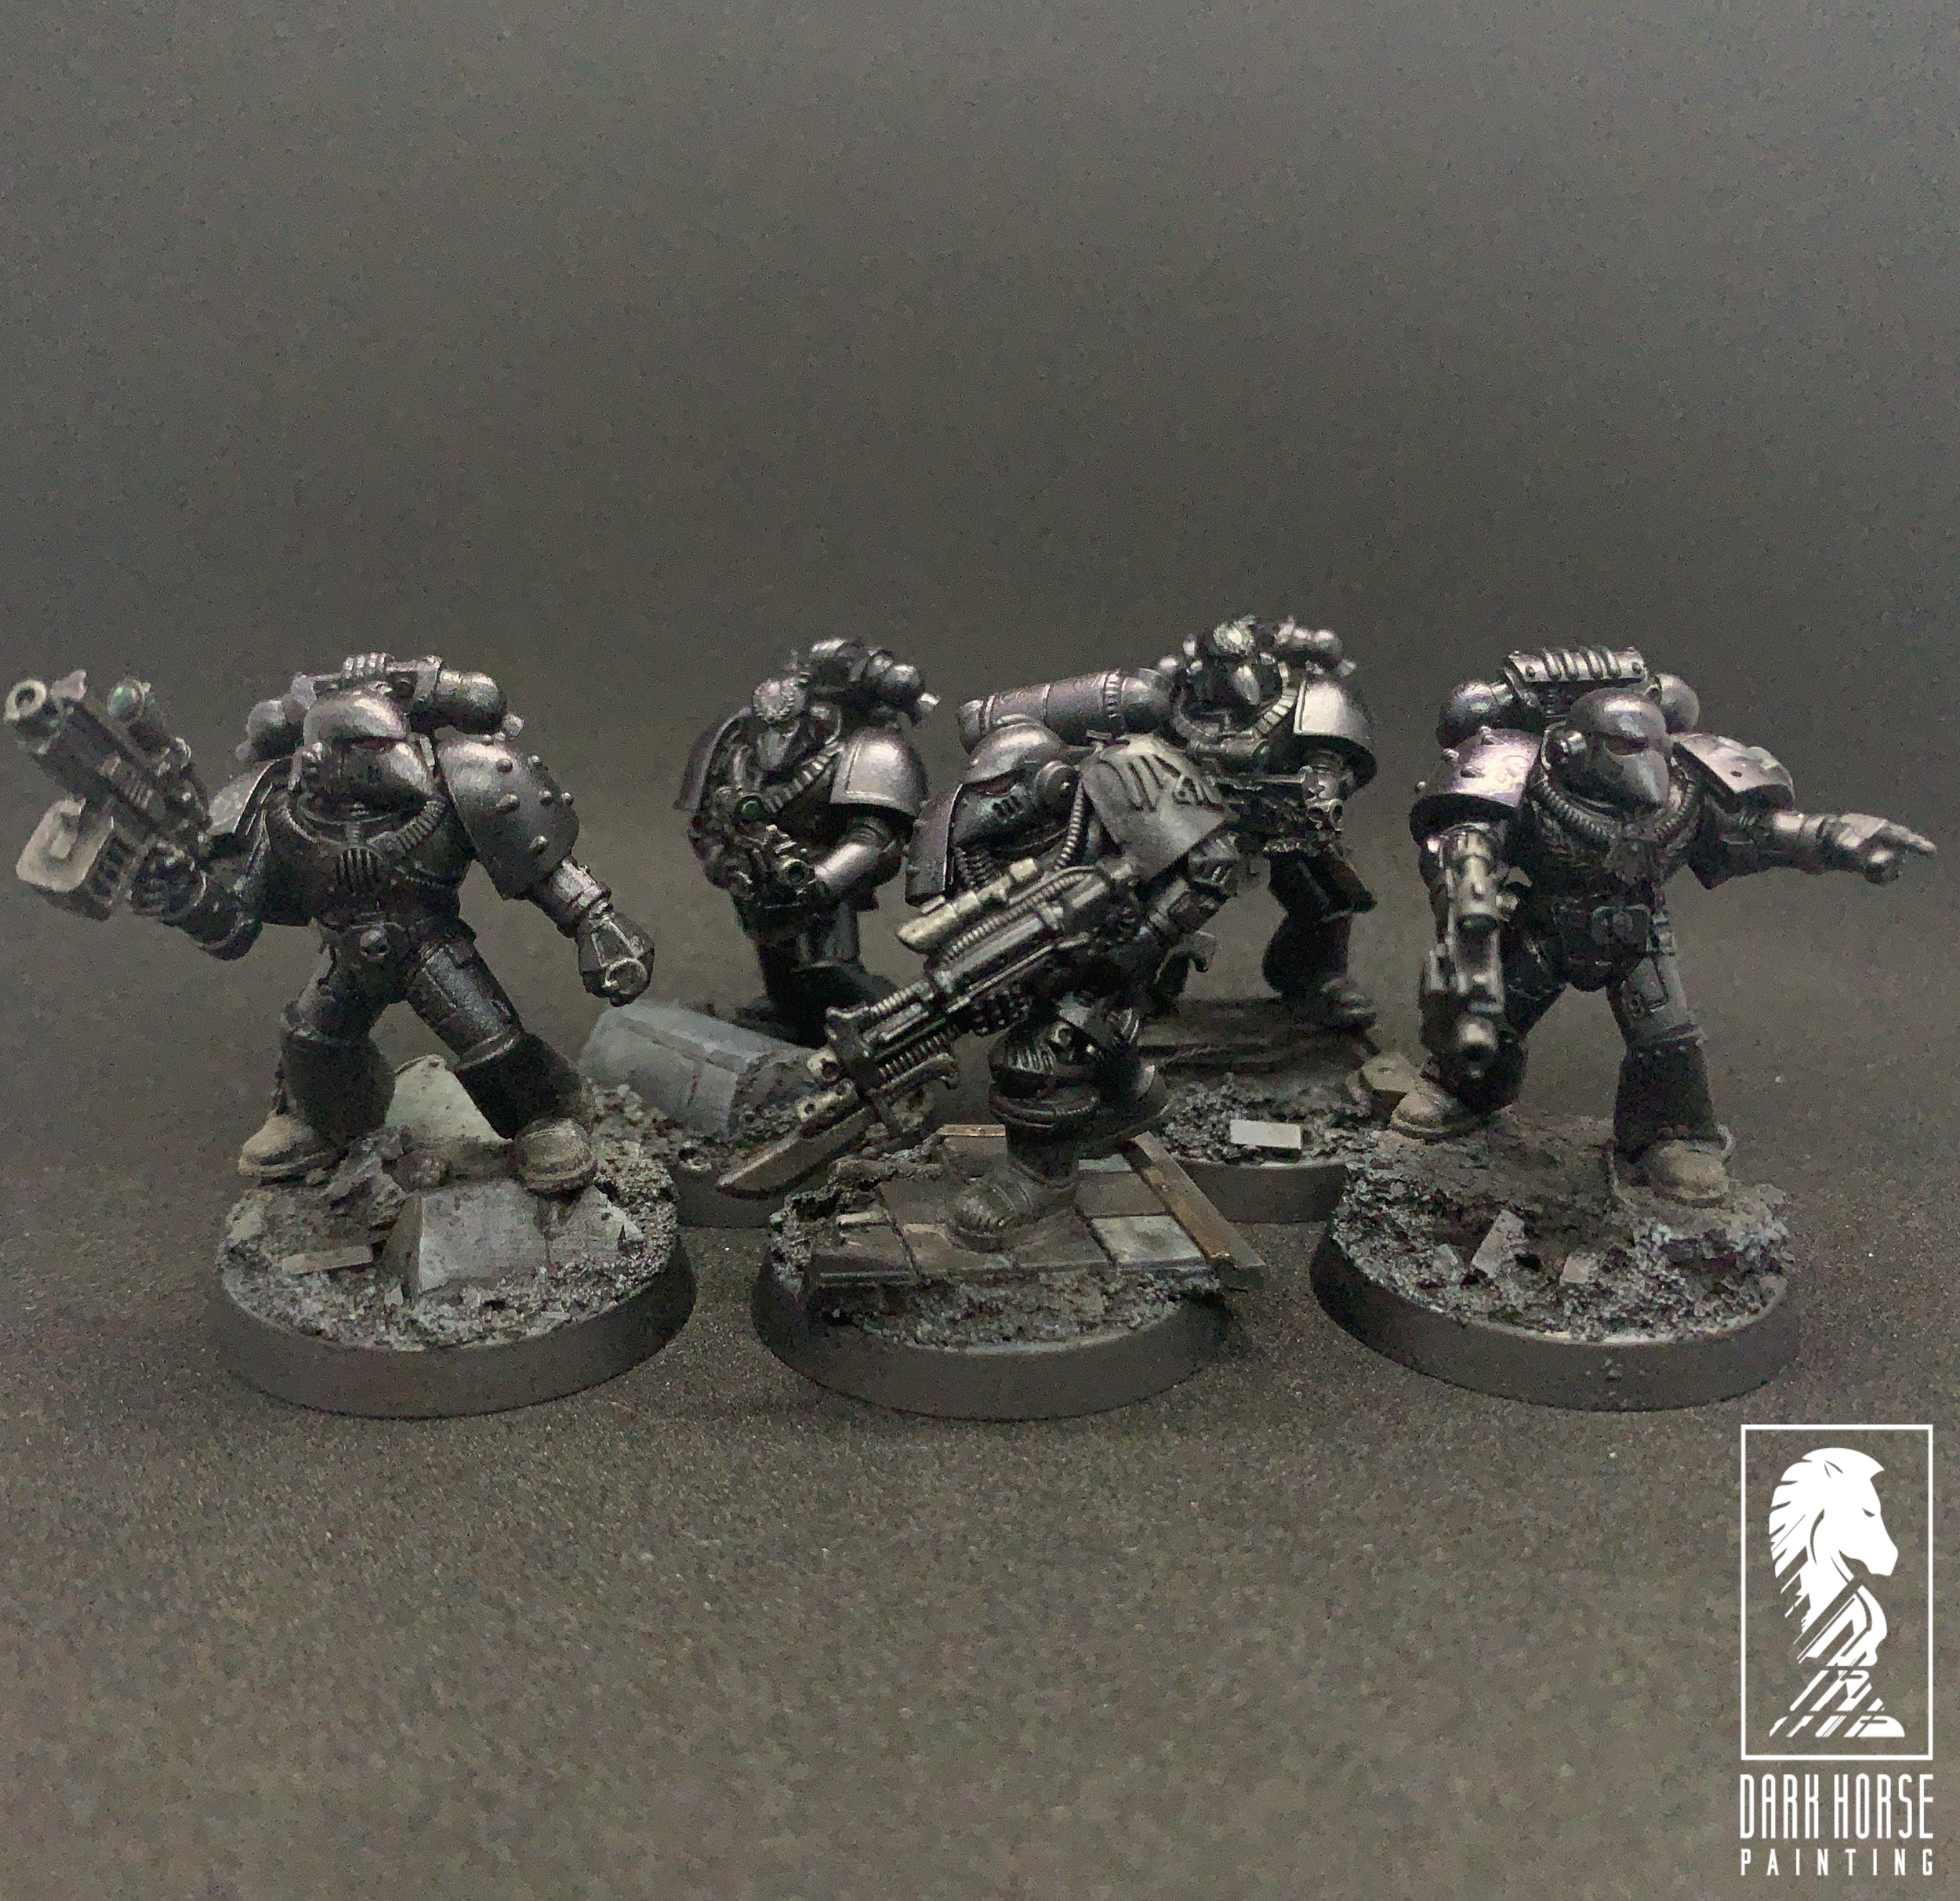
Iron Hands Breachers
The Campaign Points earned for games in this phase are as follows:
• Legendary Mission: Vanguard Fury*:
8 CP for a Victory
• Hammerblow Assault:
6 CP for a Defender Victory (any listed type)
4 CP for an Attacker Victory (any listed type)
• Other Battle Missions:
4 CP for a Victory
2 CP for a Draw
• All other games:
2 CP for a Victory
1 CP for a Draw
* You might also choose to play the Legendary Mission – The First Wave on p. 32 of Journal Tactica: The Isstvan V Dropsite Massacre Part One.
Phase I Special Rules
The following rules and conditions apply to all games played in this Campaign phase where appropriate.
In any games where this is a factor, the Loyalists are always the 'Attacker' and the Traitors the 'Defender' during this Campaign phase.
Sky Fall
The Loyalist forces used in this Campaign phase's battles are deploying via drop strike and close lander assault into the very teeth of the enemy's defences.
• No Loyalist army may take Fortifications of any kind.
• The Loyalist army gains +1 to any rolls to determine who goes first in missions played during this Campaign phase where this is a factor. (For the sake of missions using 3rd Edition’s method of determining who goes first, the modifier would be -1.)
They Were Waiting…
The Traitor forces on Isstvan V were waiting in prepared defences that purposefully hid their true numbers and strength, but even they were taken aback by the sheer fury and calculated force of the Loyalists' attack.
• Traitor armies may always take an additional Fortification selection as part of a Battlefield Fortifications Detachment (p. 191, Legacies of the Age of Darkness PDF) in games during this Campaign phase (note that this must be paid for from their points allowance as normal).
• Traitor armies may add + I to all their Reserve rolls (including Aerial Reserves) during games in this Campaign phase.
Battles in the Campaign
Select by mutual agreement or roll on the following chart to determine which battles you will play. You may also use the various missions presented in other publications.
D6 Result
1-2 Hammerblow Assault (Mission 2)
3-4 Deadly Ground (Mission 3)
5 Brother against Brother (Mission 1)
6 Tide of War (Mission 4)
PHASE II: THE IMPERIUM BLEEDS
The atrocity of Isstvan III was nothing compared to the brutality of tens of thousands of Space Marines fighting hand-to-hand in the Urgall Depression. A conflict of that scope had never before been seen in the annals of the Imperium.
Campaign Points
Emperor’s Children Sun Killer Novaetor
The Campaign Points earned for games in this phase are as follows:
• Legendary Mission: Cataclysm:
8 CP for a Victory
• Brother against Brother:
6 CP for a Victory
3 CP for a Draw
• Other Battle Missions:
4 CP for a Victory
2 CP for a Draw
• All other games:
2 CP for a Victory
1 CP for a Draw
Phase II Special Rules
The following rules and conditions apply to all games played in this Campaign phase where appropriate.
In any games where this is a factor, the Loyalists are always the 'Attacker' and the Traitors the 'Defender' during this Campaign phase.
The following special rules apply to both sides of the conflict during this Campaign phase.
Fog of War
Owing to the hellish tide of warfare encompassing the battlefield and ripping through the skies above, energy blasts and shells fog auspex signals in a blizzard of static. The following effects are in play:
• All Deep Striking units suffer a -1 penalty on rolls on the Reserve rolls until Turn 3.
• All Barrage weapons scatter 1D6" more than they would otherwise.
Allied Bombardment
Such is the press of battle that on each side catastrophic forces are being unleashed, and each side has the chance of calling in the firepower of allied Titans, rear echelon batteries or fortress guns to their aid, but such endeavours are not guaranteed or without risk.
• From the second turn onward each side can attempt to call in an allied bombardment, this may only be successfully done once per game, and the attempt is optional.
• If the player wishes to call in a bombardment, roll a D6 and consult the following table:
D6 Result
1 Garbled comms: The opposing player places the bombardment instead!
2-4 No luck!: No bombardment this turn, but further attempts may be made in subsequent turns.
5+ Success!: The controlling player may call in a bombardment.
The bombardment has the following profile. The bombardment scatters 2D6".
Range RS AP D Type
Unlimited 1d6+5 3 2 Large Blast (5”)
Battles in the Campaign
Select by mutual agreement or roll on the following chart to determine which battles you will play. You may also use the various missions presented in other publications.
D6 Result
1-2 Tide of War (Mission 4)
3-4 Brother against Brother (Mission 1)
5 Hammerblow Assault (Mission 2)
6 Deadly Ground (Mission 3)
PHASE III: THE DEATH OF HOPE
The Iron Hands, Salamanders, and Raven Guard fought with a ferocity only sustained with the knowledge that their relief in place was at hand. However, the Iron Warriors dropped emplacements behind the Loyalists. The shock and horror lasted only momentarily as the Loyalists’ reserves fired upon them. And then the dying began in earnest…
Campaign Points
Vonnax Dronn, Warsmith of the Iron Warriors. Present on Isstvan V.
The Campaign Points earned for games in this phase are as follows:
• Legendary Mission: Blood of the Primarch:
8 CP for a Victory
• Hammerblow Assault:
3 CP for a Defender Victory (any listed type)
5 CP for an Attacker Victory (any listed type)
• Other Battle Missions:
4 CP for a Victory
1 CP for a Draw
• All other games:
2 CP for a Victory
0 CP for a Draw
Phase III Special Rules
The following rules and conditions apply to all games played in this Campaign phase where appropriate. In any games where this is a factor, the Loyalists are always the 'Defender' and the Traitors the 'Attacker' during this Campaign phase.
Loyal unto Death
The Loyalist forces used in this Campaign phase's battles are encircled, betrayed and face overwhelming odds, but they will not fall without exacting a bloody toll on their betrayers.
• The Loyalist army suffers a -1 penalty to all Reserve rolls (including Aerial Reserves).
• Unless a unit’s only means of arriving on the table is Deep Strike no Loyalist unit may deploy via Deep Strike.
• All Loyalist units gain a bonus CP in combat in their own deployment zone.
• All Loyalist Command and Champion models gain the Hatred (Traitor) rule while fighting in Challenges.
The Trap is Sprung
The bitterest blow falls, and where the Loyalists looked for allies, they found only death on every side.
• The Loyalist army gains +1 to any rolls to determine who goes first in missions played during this Campaign phase where this is a factor. (For the sake of missions using 3rd Edition’s method of determining who goes first, the modifier would be -1.)
• Any Traitor forces held in reserve gain the Outflank special rule during this Campaign phase.
• Traitor armies gain Precision (6+) for the first turn of any game played in this Campaign phase.
Battles in the Campaign
Select by mutual agreement or roll on the following chart to determine which battles you will play. You may also use the various missions presented in other publications.
D6 Result
1-2 Brother against Brother (Mission 1)
3-4 Hammerblow Assault (Mission 2)
5 Tide of War (Mission 4)
6 Deadly Ground (Mission 3)
Conclusion
So, that’s it for the phases! The side with the most campaign points in the end is the winner! The next post will cover the four battle missions and deployment maps. The third one will cover the three legendary missions. A fourth post will remain a secret for now! As always, stay tuned for more Good Times and War Crimes!
In the meantime, you can check me out Instagram or Facebook!